Installing luxury vinyl plank (LVP) flooring over concrete is one of the most rewarding DIY projects you can tackle. Not only does it transform your space dramatically, but it’s also surprisingly manageable for beginners when you follow the right steps. This comprehensive guide will walk you through every detail of the installation process, from preparation to finishing touches.
Why Choose LVP Flooring Over Concrete?
Luxury vinyl plank flooring has become the go-to choice for concrete subfloors because it offers exceptional durability, water resistance, and comfort underfoot. Unlike traditional hardwood, LVP won’t warp or buckle from moisture that can seep through concrete, making it perfect for basements, kitchens, and bathrooms.
The installation process is also more forgiving than other flooring types. Most LVP products feature click-lock systems that eliminate the need for nails or glue, making it an ideal weekend project for DIY enthusiasts.
Tools and Materials You’ll Need
Essential Tools:
- Tape measure
- Chalk line
- Utility knife with extra blades
- Rubber mallet
- Pull bar
- Spacers (1/4 inch)
- Level (4-foot minimum)
- Safety glasses and knee pads
- Oscillating multi-tool or jigsaw
- Hair dryer or heat gun (for curved cuts)
Materials Required:
- Luxury vinyl plank flooring (add 10% extra for waste)
- Underlayment (if not attached to planks)
- Concrete primer and sealer
- Self-leveling compound (if needed)
- Transition strips
- Quarter round or baseboard molding
- Construction adhesive for transitions
Step 1: Assess and Prepare Your Concrete Subfloor
The success of your LVP installation depends heavily on proper concrete preparation. Start by thoroughly cleaning the concrete surface, removing any debris, paint, or adhesive residue. Use a shop vacuum to eliminate all dust particles.
Next, check for moisture issues using a plastic sheet test. Tape a 2×2 foot piece of plastic sheeting to the concrete and leave it for 24 hours. If you see condensation underneath, you’ll need to address moisture problems before proceeding with installation.
Inspect the concrete for cracks, holes, or uneven areas. Small cracks can be filled with concrete crack filler, while larger imperfections may require patching compound. Use a 4-foot level to identify high and low spots. Any variations greater than 3/16 inch over 10 feet will need to be corrected with self-leveling compound.
Step 2: Apply Concrete Sealer and Primer
Even if your concrete appears dry, applying a moisture barrier is crucial for long-term flooring performance. Choose a high-quality concrete sealer designed for flooring applications. Roll or brush the sealer evenly across the entire surface, following manufacturer’s instructions for coverage rates and drying times.
Allow the sealer to cure completely before proceeding. This typically takes 24-48 hours depending on temperature and humidity conditions. Proper curing ensures maximum adhesion and moisture protection.
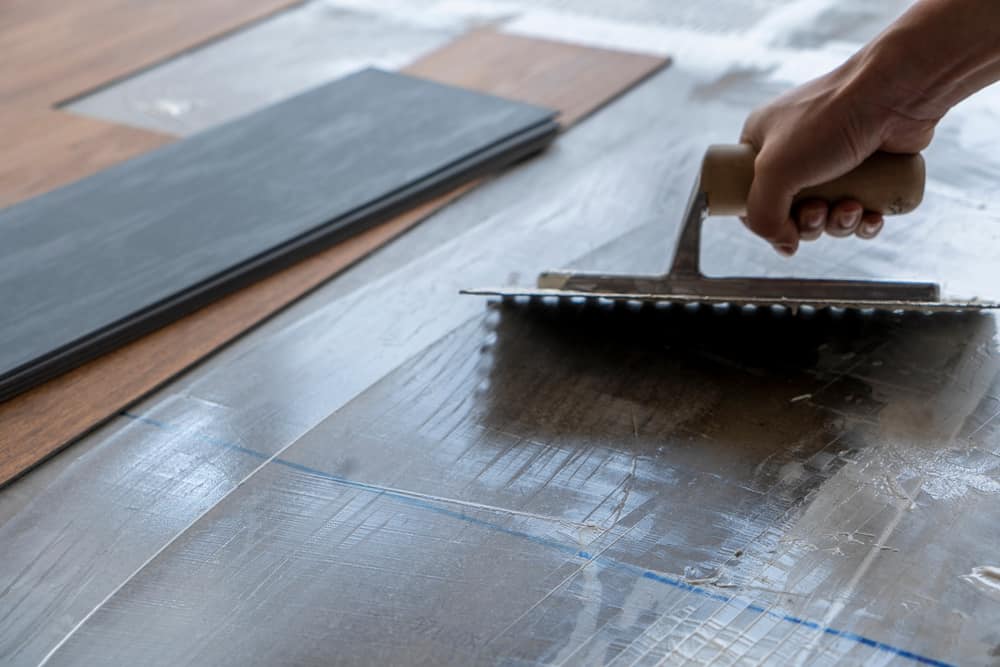
Step 3: Install Underlayment (If Required)
Many luxury vinyl planks come with attached underlayment, but if yours doesn’t, you’ll need to install a separate underlayment layer. Choose an underlayment specifically designed for LVP over concrete, as these often include additional moisture barriers.
Roll out the underlayment perpendicular to your planned plank direction, butting seams tightly together without overlapping. Secure the edges with construction adhesive or tape as recommended by the manufacturer. This layer provides cushioning, sound dampening, and an additional moisture barrier.
Step 4: Plan Your Layout and Starting Point
Proper layout planning prevents narrow plank pieces at walls and ensures a professional appearance. Measure the room’s width and divide by your plank width to determine how many full planks will fit. If the last row would be less than 2 inches wide, adjust your starting point to balance the border planks.
Use a chalk line to mark your starting wall, ensuring it’s perfectly straight. If your walls aren’t perfectly square (most aren’t), choose the longest, most visible wall as your reference point. Mark a line parallel to this wall, leaving a 1/4 inch expansion gap.
Step 5: Install the First Row
The first row sets the foundation for your entire installation, so take extra care to get it perfectly straight. Start in the left corner of your reference wall, placing the first plank with the tongue side facing the wall. Use spacers to maintain the 1/4 inch expansion gap.
Continue installing the first row, clicking planks together end-to-end. You may need to cut the last plank to fit, leaving room for the expansion gap. Use this cut piece to start your second row if it’s longer than 12 inches, creating a staggered joint pattern.
Step 6: Continue Installation Row by Row
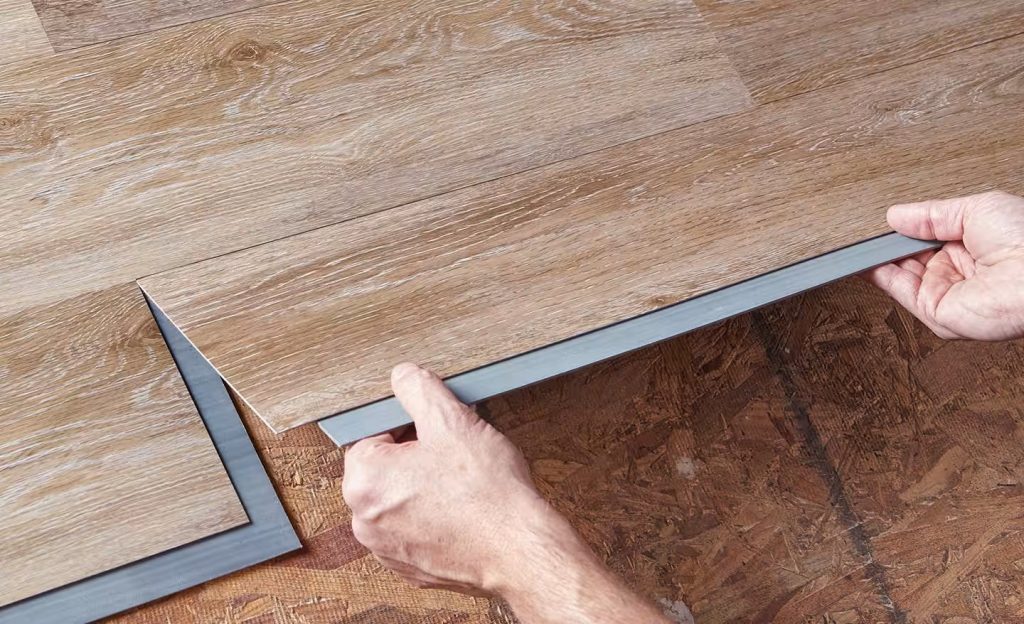
Work systematically across the room, maintaining proper stagger patterns. Most manufacturers recommend staggering end joints by at least 6 inches, though 12 inches creates a more natural appearance. This staggering prevents weak points and creates the random look of real hardwood.
When clicking planks together, angle the new plank at about 20-30 degrees and lower it until the locking mechanism engages. You should hear and feel a distinct click when properly connected. Use a rubber mallet and tapping block for stubborn connections, but avoid excessive force that could damage the locking system.
Step 7: Navigate Obstacles and Doorways
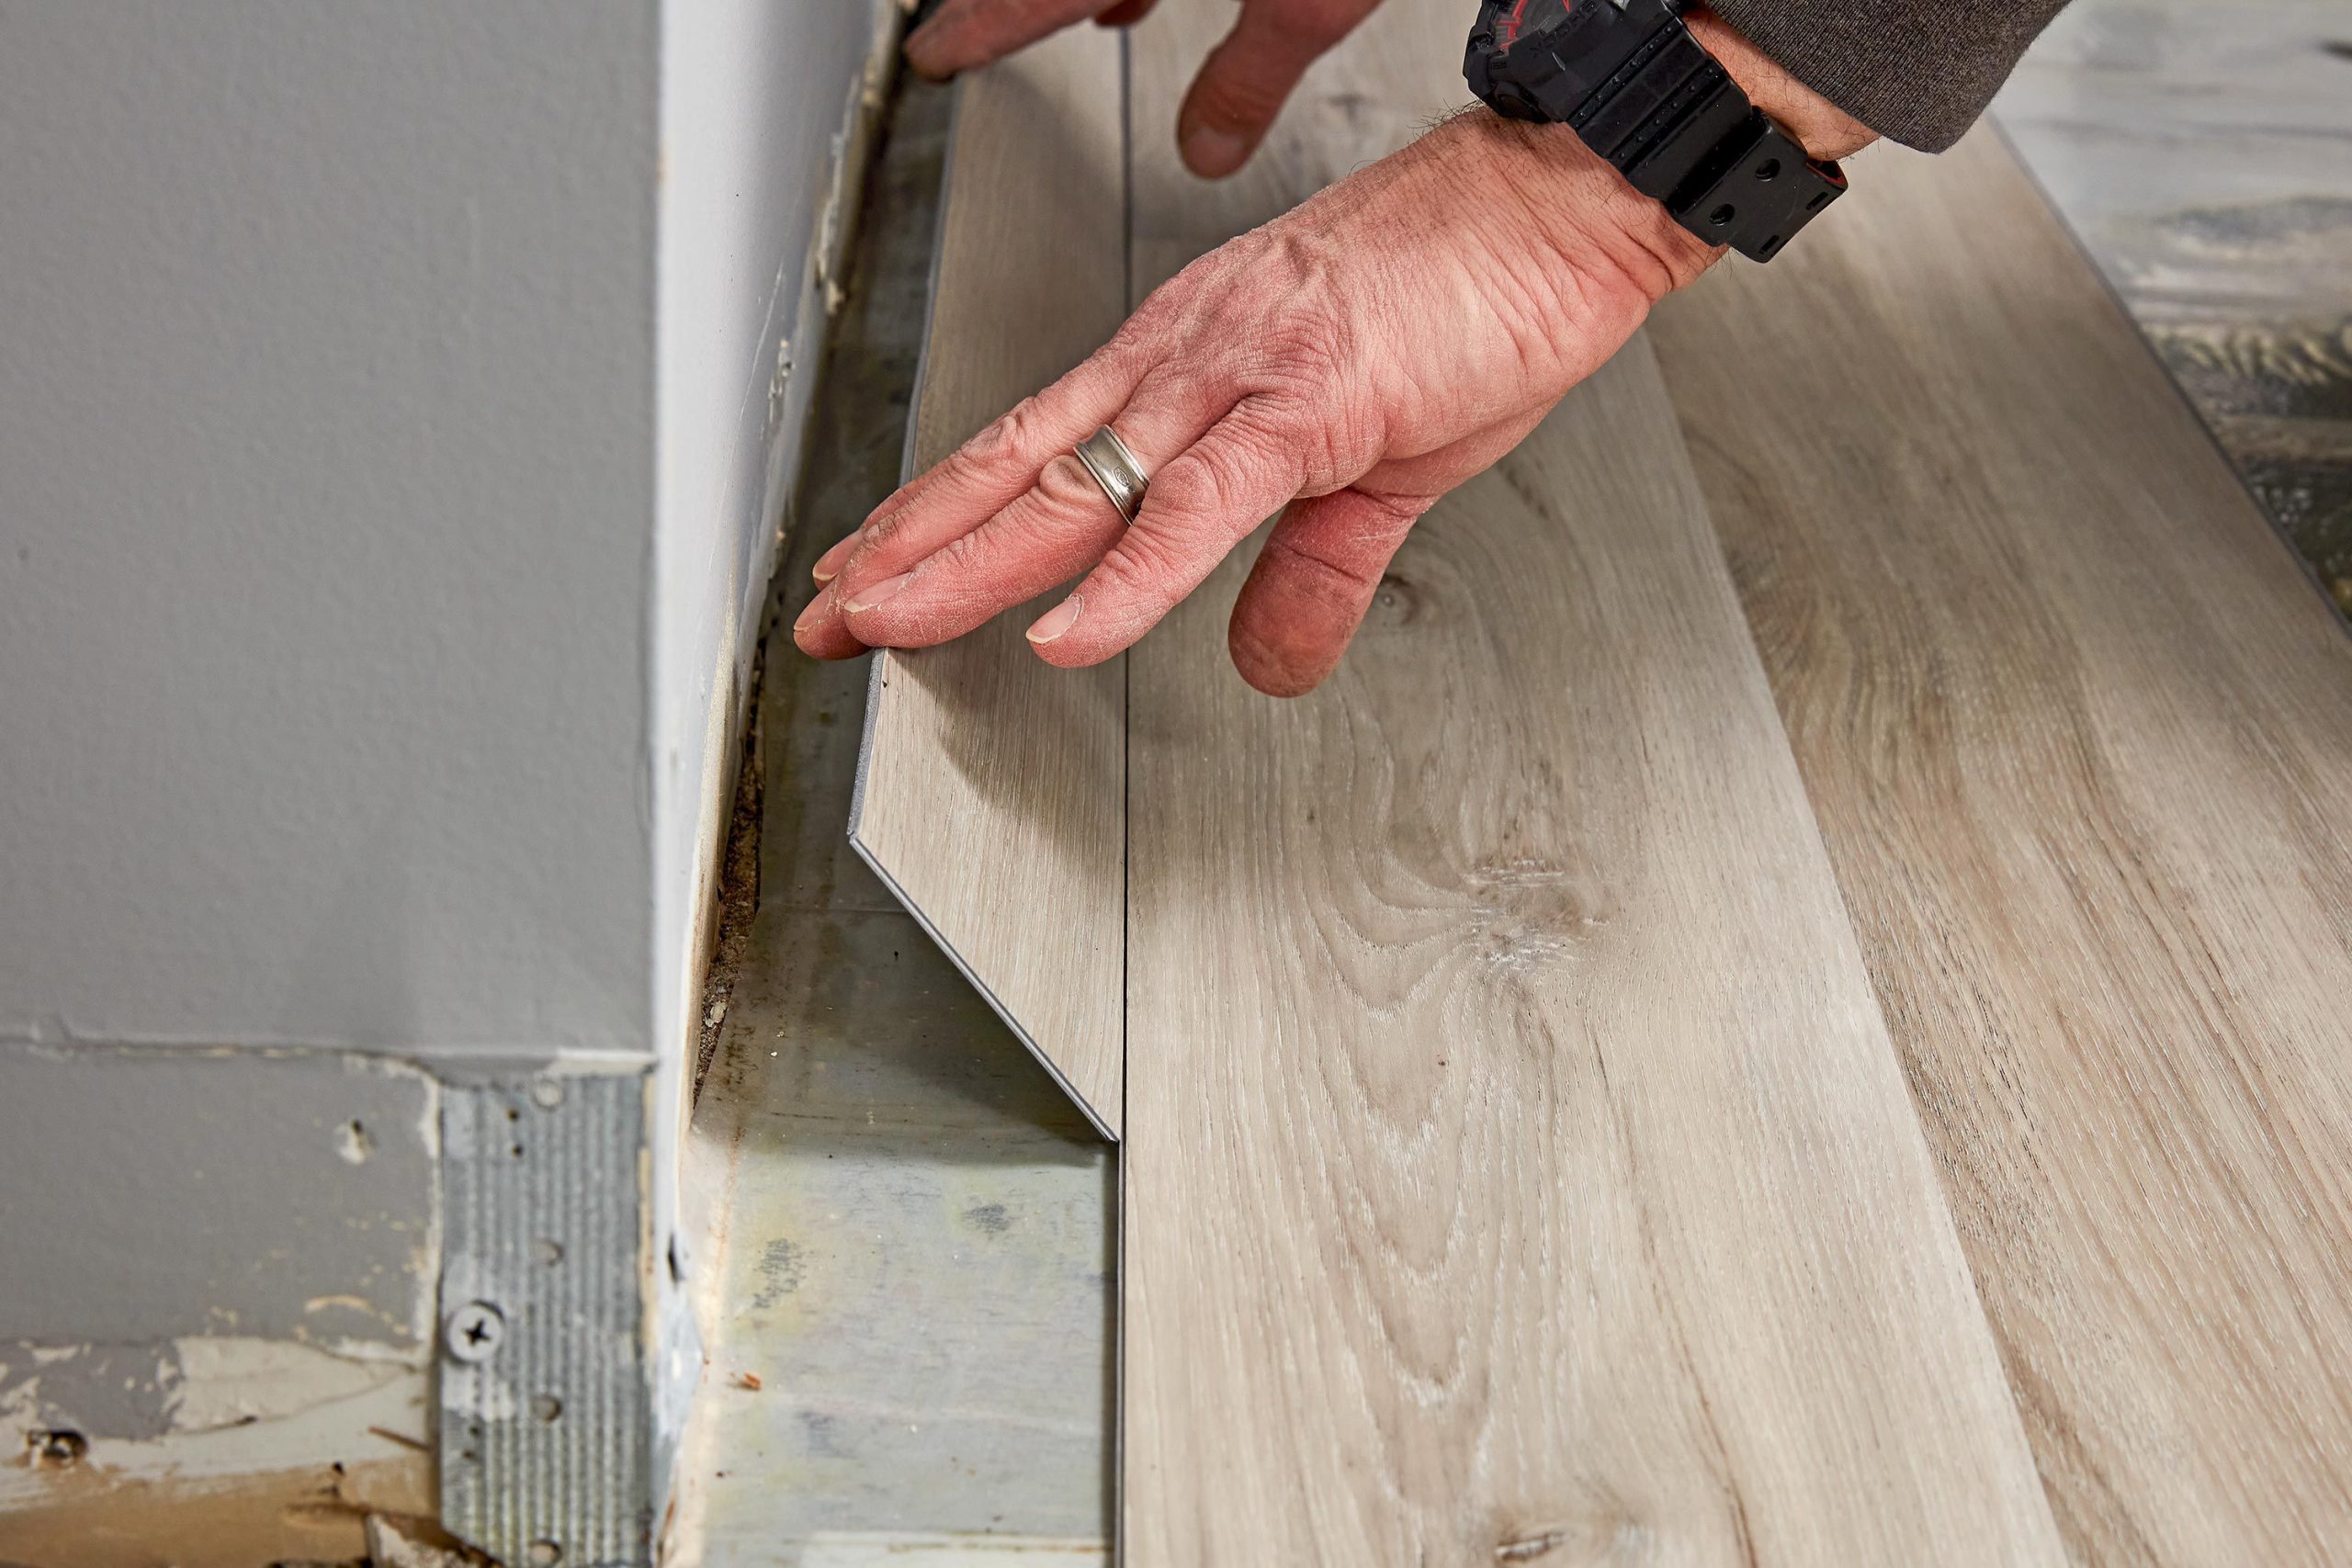
Cutting around obstacles like heating vents, pipes, or irregular walls requires patience and precision. Create paper templates for complex shapes, transferring the pattern to your plank before cutting. Use an oscillating multi-tool for intricate cuts and a jigsaw for longer, straight cuts.
For doorway transitions, you’ll likely need to undercut door jambs to allow planks to slide underneath. Use an oscillating tool with a flush-cut blade, using a scrap piece of flooring as a height guide. This creates a clean, professional appearance without visible gaps.
Step 8: Install Transition Strips and Trim
Transition strips are essential where your LVP meets other flooring types or at doorways. Choose transitions that complement your flooring color and style. Most transitions attach to the subfloor with screws or construction adhesive, bridging the gap between different floor heights.
Install quarter round or baseboard molding to cover expansion gaps around the room’s perimeter. Pre-drill nail holes to prevent splitting, and use finishing nails long enough to penetrate into wall studs. Fill nail holes with matching wood filler for a professional finish.
Step 9: Final Inspection and Cleanup
Walk the entire floor, checking for loose planks, gaps, or imperfections. Address any issues immediately while your tools are still accessible. Pay special attention to high-traffic areas and transitions where problems are most likely to develop over time.
Remove all spacers and clean the floor thoroughly with a manufacturer-approved cleaner. Avoid harsh chemicals or excessive water that could damage the flooring or seep into joints.
Maintenance Tips for Long-Term Success
Your new LVP floor will provide years of beautiful service with minimal maintenance. Sweep or vacuum regularly to prevent dirt and debris from scratching the surface. Clean spills immediately to prevent staining, even though LVP is highly water-resistant.
Use furniture pads under heavy items and avoid dragging furniture across the floor. While LVP is durable, these simple precautions will keep it looking new for years to come.
Common Mistakes to Avoid
Many DIY installations fail due to inadequate concrete preparation. Never skip the moisture testing and sealing steps, even if the concrete appears dry. Moisture problems may not appear immediately but can cause significant damage over time.
Another common error is inadequate expansion gaps. Vinyl flooring expands and contracts with temperature changes, and insufficient gaps can cause buckling or warping. Always maintain the manufacturer’s recommended gap size around the room’s perimeter.
When to Call a Professional
While LVP installation is DIY-friendly, certain situations warrant professional help. If your concrete has significant moisture issues, structural problems, or requires extensive leveling, consult a flooring contractor. Complex room layouts with multiple angles, stairs, or intricate cut work may also benefit from professional expertise.
Conclusion
Installing luxury vinyl plank flooring over concrete is an achievable project that can dramatically transform your space. The key to success lies in thorough preparation, careful planning, and patience during installation. By following these detailed steps and taking your time with each phase, you’ll achieve professional-looking results that will enhance your home’s value and your daily living experience.
Remember that every room presents unique challenges, so don’t rush the process. Take breaks when needed, double-check measurements, and don’t hesitate to consult manufacturer instructions for your specific product. With proper installation and care, your new LVP floor will provide decades of beautiful, durable service.