
Proper bathroom ventilation is crucial for preventing mold, mildew, and moisture damage in your home. Installing a bathroom exhaust fan is one of the most effective ways to maintain good air quality and protect your investment. In this comprehensive guide, we’ll walk you through everything you need to know about bathroom exhaust fan installation, from choosing the right fan to completing the project safely.
Why Bathroom Ventilation Matters
Poor bathroom ventilation can lead to serious problems including:
- Mold and mildew growth on walls, ceilings, and fixtures
- Paint peeling and wallpaper damage from excess moisture
- Structural damage to wood framing and drywall
- Health issues from poor air quality
- Increased energy costs from humidity affecting your HVAC system
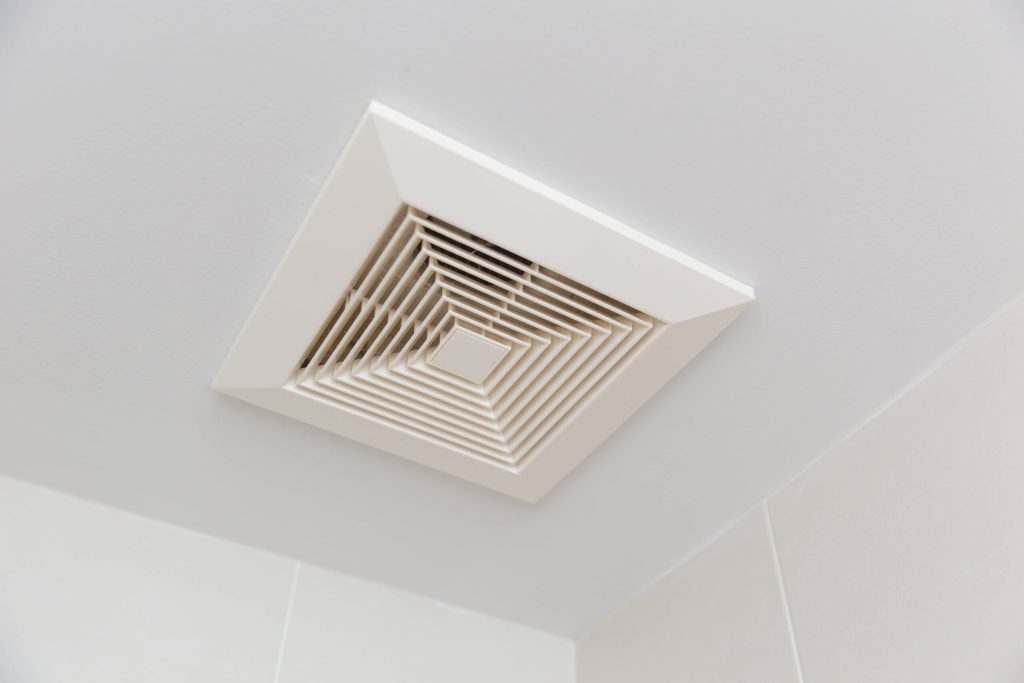
A properly installed exhaust fan removes humid air, odors, and airborne contaminants, creating a healthier and more comfortable bathroom environment.
Choosing the Right Exhaust Fan
CFM Requirements
The most important factor when selecting a bathroom exhaust fan is the CFM (Cubic Feet per Minute) rating. Here’s how to calculate what you need:
For bathrooms under 100 square feet:
- Multiply length × width × 1.1
- Example: 8′ × 10′ bathroom = 80 sq ft × 1.1 = 88 CFM minimum
For bathrooms over 100 square feet:
- Calculate CFM based on fixtures:
- Toilet: 50 CFM
- Shower: 50 CFM
- Bathtub: 50 CFM
- Each additional fixture: 50 CFM
Noise Level Considerations
Exhaust fans are rated in sones (noise level measurement):
- 0.5-1.0 sones: Very quiet, premium models
- 1.1-2.0 sones: Quiet operation, good for master bathrooms
- 2.1-4.0 sones: Standard noise level, acceptable for most applications
- 4.0+ sones: Loud, typically budget models
Additional Features to Consider
- LED lighting integration for dual functionality
- Humidity sensors for automatic operation
- Timer controls for extended operation
- Energy Star certification for efficiency
- Easy-clean grilles for maintenance
Tools and Materials Needed
Tools Required:
- Drill with hole saw attachment (4-6 inch)
- Jigsaw or reciprocating saw
- Wire strippers and electrical tester
- Screwdriver set
- Measuring tape and pencil
- Safety glasses and dust mask
- Ladder or step stool
- Stud finder
Materials Needed:
- Exhaust fan unit
- Flexible ductwork (4 or 6 inch diameter)
- Duct clamps and aluminum tape
- Roof or wall vent cap
- Wire nuts and electrical cable (if new circuit needed)
- Screws and mounting hardware
- Caulk or sealant
Step-by-Step Installation Guide
Safety First
⚠️ Important Safety Notes:
- Turn off electricity at the circuit breaker before beginning
- Check local building codes for permit requirements
- Consider hiring a professional if you’re uncomfortable with electrical work
- Wear safety equipment throughout the project
Step 1: Plan the Installation Location
Choose the optimal location for your exhaust fan:
- Ideal placement: Center of the room or over the shower/tub
- Avoid placing directly over the toilet (less effective for shower moisture)
- Ensure adequate clearance from walls and fixtures
- Consider the shortest duct run to the exterior
Step 2: Mark the Ceiling Opening
- Use the fan’s template or measure the housing dimensions
- Mark the center point on the ceiling
- Use a stud finder to locate ceiling joists
- Adjust placement if necessary to avoid structural members
- Draw the cutting outline with a pencil
Step 3: Cut the Ceiling Opening
- Drill pilot holes at each corner of the marked area
- Insert the jigsaw blade and carefully cut along the marked lines
- Save the cut piece to patch the hole if you make mistakes
- Clean up debris and vacuum the area
Step 4: Install the Fan Housing
- Remove the fan motor and grille from the housing (if applicable)
- Position the housing in the ceiling opening
- Secure with screws to the ceiling joists or use provided mounting brackets
- Ensure the housing is level and flush with the ceiling surface
Step 5: Run the Ductwork
For Roof Venting:
- Measure the distance from fan to roof
- Cut ductwork to appropriate length
- Connect flexible duct to fan housing with clamp
- Route ductwork to roof exit point
- Seal all connections with aluminum tape
For Wall Venting:
- Choose exterior wall location
- Drill hole from inside to outside
- Install wall vent cap
- Connect ductwork from fan to wall vent
- Seal all penetrations with caulk
Step 6: Electrical Connections
⚠️ Electrical Safety Warning: If you’re not comfortable with electrical work, hire a licensed electrician.
For existing electrical supply:
- Turn off power at the breaker
- Connect fan wires to existing electrical cable
- Match wire colors: black to black (hot), white to white (neutral), green/bare to ground
- Use wire nuts to secure connections
- Tuck wires into electrical box
For new electrical circuit:
- Run new 14 or 12-gauge cable from electrical panel
- Install appropriate switch (standard, timer, or humidity sensor)
- Make connections following local electrical codes
- Have work inspected if required
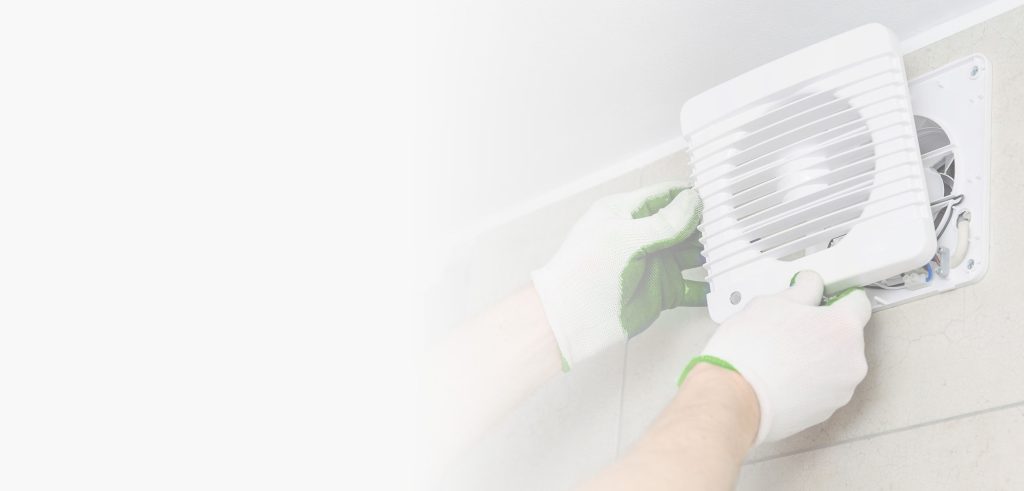
Step 7: Install the Fan Motor and Grille
- Plug in the fan motor to the housing connection
- Secure the motor assembly with provided clips or screws
- Attach the grille by aligning with mounting tabs
- Test the spring-loaded mounting system for secure fit
Step 8: Test the Installation
- Restore power at the circuit breaker
- Turn on the fan and listen for unusual noises
- Check airflow by holding tissue paper near the grille
- Verify switch operation and any additional features
- Inspect all connections for proper sealing
Common Installation Challenges and Solutions
Challenge: Limited Attic Access
Solution: Consider a low-profile fan designed for tight spaces, or use flexible ductwork to navigate around obstacles.
Challenge: Existing Light Fixture
Solution: Choose a combination fan/light unit, or relocate one of the fixtures for optimal performance.
Challenge: Concrete or Steel Construction
Solution: Use a masonry bit for concrete, or consider a wall-mounted unit instead of ceiling installation.
Challenge: Long Duct Runs
Solution: Use rigid metal ductwork for runs over 10 feet, and size up the fan CFM to account for static pressure loss.
Maintenance Tips for Long-Term Performance
Monthly Maintenance:
- Clean the grille with vacuum or damp cloth
- Check for proper operation and unusual noises
- Ensure switch functionality and timer settings
Semi-Annual Maintenance:
- Remove and clean the fan motor according to manufacturer instructions
- Inspect ductwork connections for loose clamps or damage
- Check exterior vent cap for blockages or damage
Annual Maintenance:
- Lubricate motor bearings if required by manufacturer
- Inspect electrical connections for corrosion or looseness
- Test GFCI protection if applicable
- Consider professional inspection for complex installations
Cost Breakdown and Budgeting
DIY Installation Costs:
- Basic exhaust fan: $30-$80
- Mid-range with features: $80-$200
- Premium quiet models: $200-$400
- Ductwork and materials: $25-$75
- Tools (if needed): $50-$150
- Total DIY cost: $105-$625
Professional Installation:
- Labor costs: $150-$400
- Total with professional: $255-$1,025
When to Call a Professional
Consider hiring a professional if you encounter:
- Complex electrical work requiring new circuits
- Structural modifications to ceiling joists
- Roof work you’re uncomfortable performing
- Local permit requirements for professional installation
- Multiple fan installations for whole-house ventilation
Conclusion
Installing a bathroom exhaust fan is a valuable home improvement project that protects your investment while improving comfort and air quality. While the project requires careful planning and attention to safety, most homeowners with basic DIY skills can complete the installation successfully.
Remember that proper ventilation is an investment in your home’s longevity and your family’s health. Take time to choose the right fan for your space, follow installation best practices, and maintain the system for years of reliable performance.
Key Takeaways:
- Size your fan properly using CFM calculations
- Prioritize quiet operation for comfort
- Plan the shortest, most direct duct route
- Follow electrical safety procedures
- Regular maintenance ensures optimal performance
With the right preparation and attention to detail, your new bathroom exhaust fan will provide years of effective moisture control and improved air quality for your home.