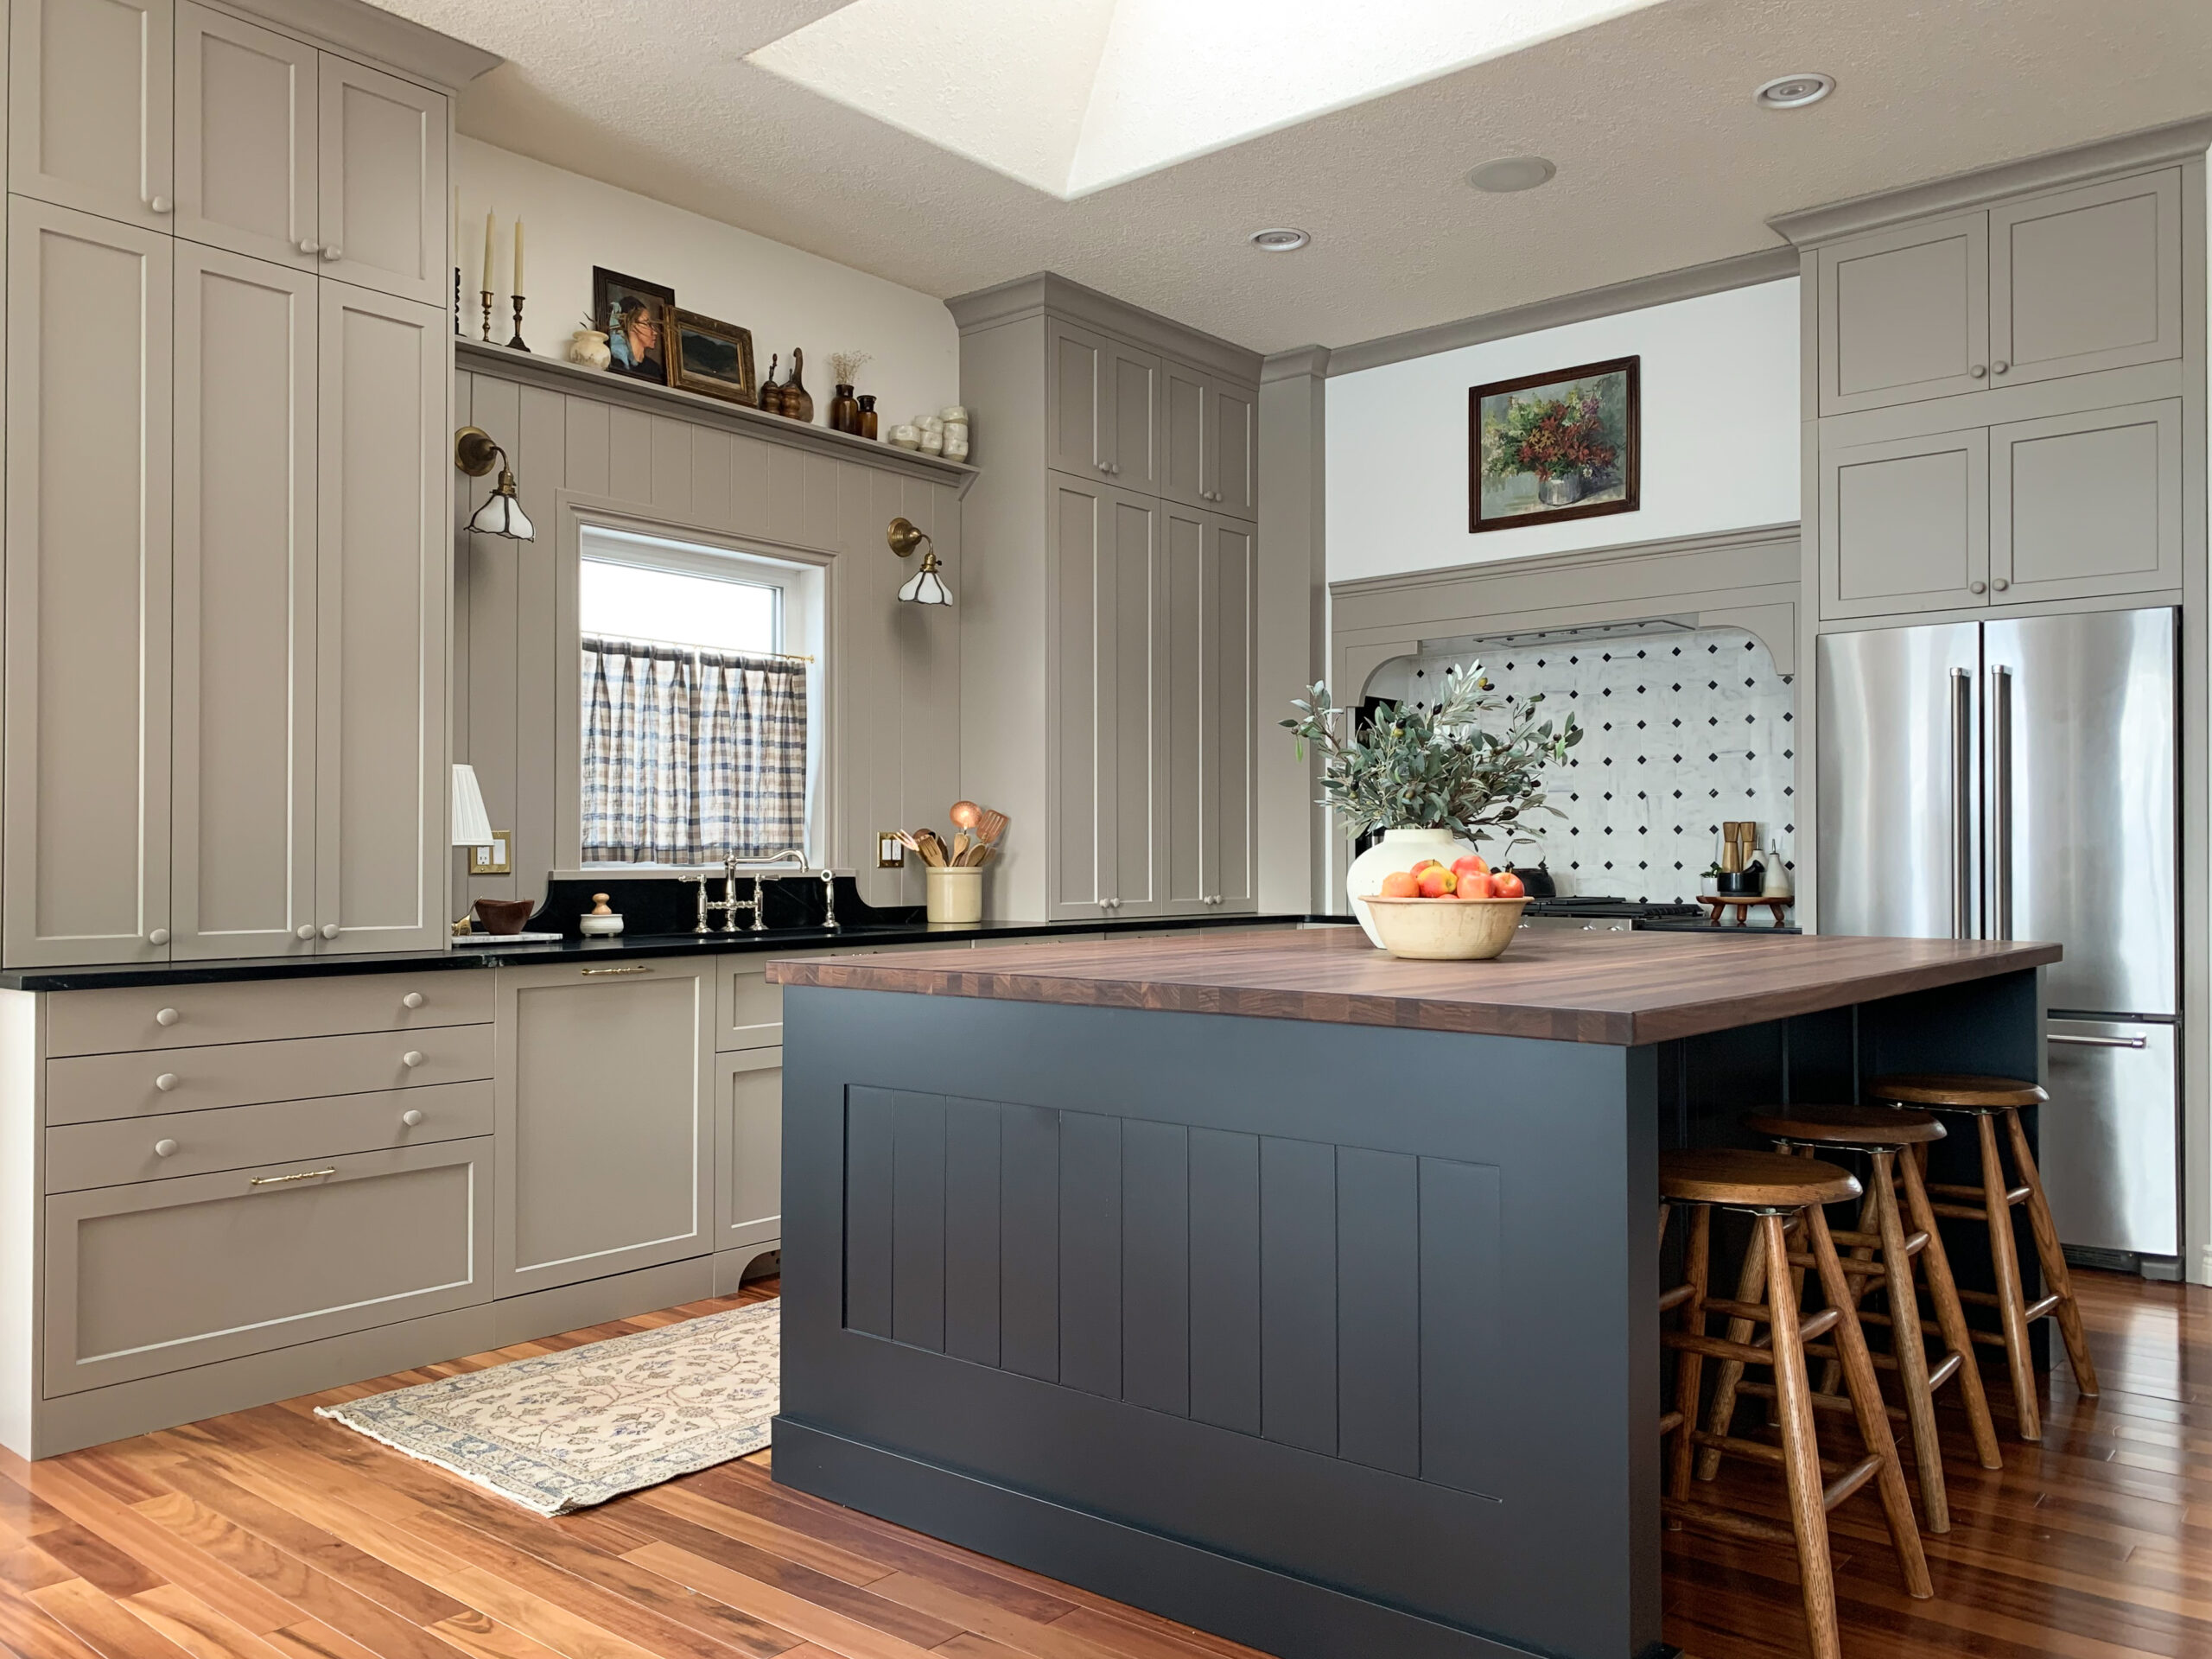
Installing a kitchen island yourself can save you thousands of dollars while creating the centerpiece your kitchen deserves. Whether you’re working with a pre-made island or building from scratch, this comprehensive guide walks you through every step of the installation process, from planning and preparation to the finishing touches.
Why Install a Kitchen Island Yourself?
A professionally installed kitchen island can cost $3,000-8,000 in labor alone. By tackling this project yourself, you’ll save significant money while gaining valuable DIY skills. Most homeowners with basic tool experience can complete this project over a weekend with proper planning and preparation.
Skill Level Required: Intermediate (some electrical and plumbing knowledge helpful) Time Commitment: 2-3 days (depending on complexity) Cost Savings: $2,000-5,000 in professional installation fees
Planning Your Kitchen Island Installation
Measuring Your Space
Before purchasing or building your island, accurate measurements are crucial for both functionality and code compliance.
Minimum Clearance Requirements:
- 36 inches on all sides for basic walkways
- 42 inches for areas where multiple people work
- 48 inches for wheelchair accessibility
- 9 inches of knee space under overhangs for seating
Standard Island Dimensions:
- Height: 36 inches (counter height) or 42 inches (bar height)
- Width: 24-48 inches (depending on kitchen size)
- Length: 48-96 inches (varies by available space)
Electrical and Plumbing Considerations
Electrical Requirements:
- At least one 20-amp GFCI circuit for outlets
- Dedicated circuit for high-powered appliances
- Under-cabinet lighting circuits (if applicable)
- Pendant light electrical rough-in
Plumbing Considerations:
- Water supply lines for sink installation
- Drain lines with proper venting
- Shut-off valves for maintenance access
- Consider future appliance connections
Important: Check local building codes and obtain necessary permits before beginning electrical or plumbing work.
Tools and Materials You’ll Need
Essential Tools
- Cordless drill with bits
- Circular saw or miter saw
- Level (48-inch minimum)
- Stud finder
- Tape measure
- Safety glasses and hearing protection
- Socket set
- Adjustable wrenches
- Clamps (various sizes)
Specialized Tools (rent if needed)
- Table saw (for custom cuts)
- Pocket hole jig
- Router (for edge treatments)
- Oscillating multi-tool
Materials List
- Kitchen island cabinet or materials for building
- Countertop material
- Electrical supplies (wire, outlets, junction boxes)
- Plumbing supplies (if adding sink)
- Mounting hardware (screws, brackets, anchors)
- Trim and molding materials
- Wood glue and construction adhesive
- Sandpaper and finishing materials
Step 1: Prepare the Installation Area
Mark the Island Location
Use painter’s tape to outline your island’s footprint on the floor. This visual guide helps you:
- Verify clearance measurements
- Check traffic flow patterns
- Identify potential obstacles
- Plan utility run locations
Pro Tip: Live with the taped outline for a few days to ensure the size and placement work for your daily kitchen activities.
Check Floor Level
Use a long level to check floor flatness across the island area. Small variations (under 1/4 inch) can be handled with shims during installation. Larger variations may require floor leveling compound.
Leveling Process:
- Place level across marked area in multiple directions
- Mark high and low spots with chalk
- Plan shimming strategy for installation
- Consider professional floor leveling for major issues
Step 2: Run Electrical and Plumbing Rough-In
Electrical Installation
Safety First: Turn off power at the main breaker and verify circuits are dead before beginning electrical work.
Basic Electrical Steps:
- Plan circuit routes from electrical panel to island location
- Install junction boxes in island base locations
- Run 12-2 Romex cable for 20-amp circuits
- Install GFCI outlets per code requirements
- Plan for pendant light electrical rough-in above island
Code Requirements:
- At least one outlet per island
- GFCI protection for all island outlets
- Outlets cannot be more than 24 inches apart
- Dedicated circuits for high-amperage appliances
Plumbing Installation (if applicable)
Water Supply Lines:
- Turn off main water supply
- Run hot and cold supply lines from nearest connection point
- Install shut-off valves near island location
- Pressure test all connections before closing walls
Drain Installation:
- Connect to existing drain system with proper slope
- Install vent lines per local plumbing codes
- Test drain flow and check for leaks
- Install clean-out access if required by code
Important: Many areas require professional plumbing for new drain installations. Check local requirements before proceeding.
Step 3: Assemble or Prepare Your Island Base
Pre-Made Island Assembly
If using a pre-manufactured island:
- Unpack and Inventory: Check all parts against the instruction manual
- Prepare Assembly Area: Use a large, flat surface near the installation location
- Follow Manufacturer Instructions: Assemble in the order specified
- Check Square and Level: Verify assembly is square using diagonal measurements
- Install Hardware: Add any included mounting brackets or leveling feet
Custom Island Construction
For built-from-scratch islands:
Frame Construction:
- Cut all lumber to size per your plans
- Assemble base frame using 2×4 construction
- Add cross-bracing for stability
- Install mounting cleats for countertop attachment
- Sand and prime all wood surfaces
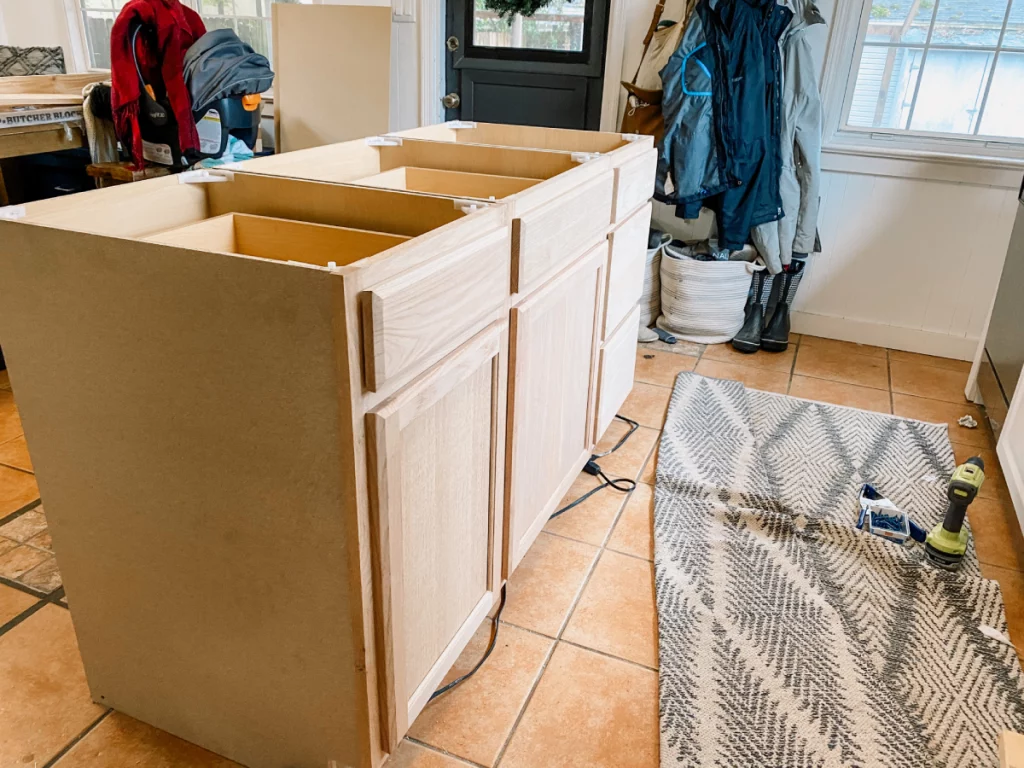
Cabinet Installation:
- Install base cabinets according to manufacturer instructions
- Level cabinets using shims as needed
- Secure cabinets together with cabinet screws
- Install toe kicks and trim pieces
- Add internal electrical and plumbing connections
Step 4: Position and Secure the Island
Moving the Island into Position
Preparation Steps:
- Clear pathway from assembly area to final location
- Protect flooring with cardboard or moving blankets
- Enlist helpers for safe moving (islands are heavy!)
- Use furniture dollies for easier transport
Positioning Process:
- Move island close to final position
- Make fine adjustments using pry bars or shims
- Align with your taped guidelines
- Check clearances on all sides
- Verify the island is parallel to cabinets and walls
Securing to the Floor
Anchor Point Selection:
- Locate floor joists beneath island location
- Use toggle bolts for concrete slab floors
- Consider earthquake safety requirements in seismic areas
Securing Process:
- Mark mounting holes on floor through island base
- Pre-drill holes at marked locations
- Install appropriate anchors for your floor type
- Secure island with lag screws or bolts
- Check level and adjust with shims if needed
Pro Tip: Don’t fully tighten bolts until the island is perfectly positioned and level.
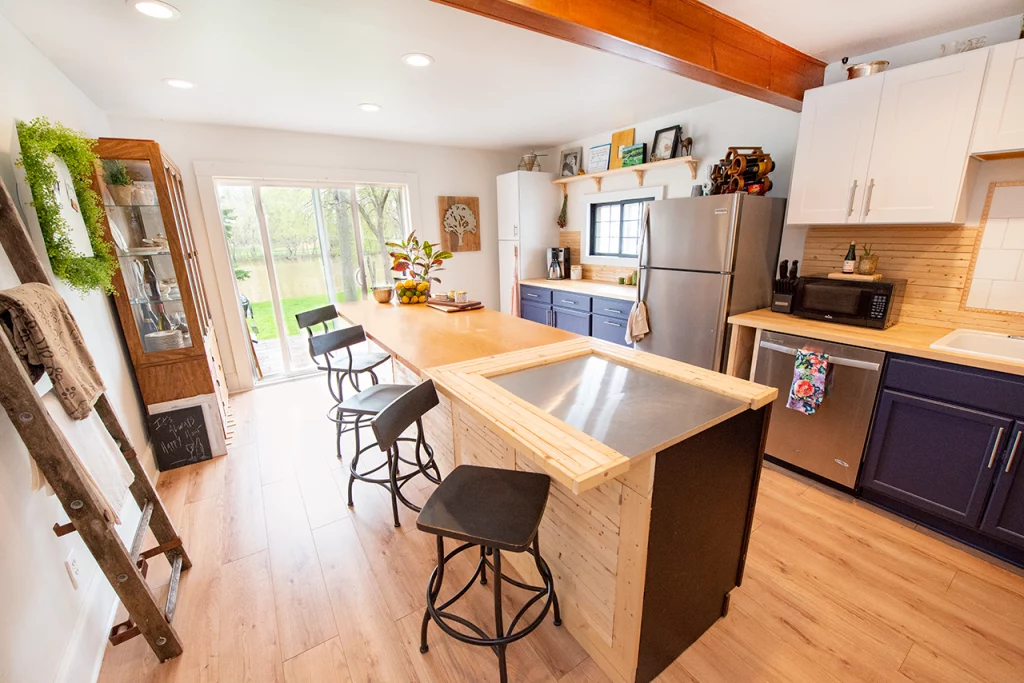
Step 5: Install Countertop
Countertop Material Options
Butcher Block:
- Pros: Affordable, warm appearance, easy to work with
- Cons: Requires regular maintenance, can be damaged by water
- Installation: Cut to size, sand smooth, apply finish
Granite/Quartz:
- Pros: Durable, heat resistant, adds value
- Cons: Heavy, requires professional cutting, expensive
- Installation: Often requires professional installation
Laminate:
- Pros: Budget-friendly, many design options, DIY-friendly
- Cons: Can chip or burn, less durable than stone
- Installation: Cut with fine-tooth saw, use contact cement
Installation Process (Butcher Block Example)
- Measure and Mark: Transfer island dimensions to countertop material
- Cut to Size: Use circular saw with fine-tooth blade for clean cuts
- Test Fit: Place countertop on island base and check fit
- Create Cutouts: Mark and cut holes for sinks or cooktops
- Sand Smooth: Progress through grits from 120 to 220
- Apply Finish: Use food-safe finish for wood countertops
- Secure to Base: Attach with figure-8 fasteners or brackets
Edge Treatment Options:
- Rounded edges for safety and style
- Beveled edges for modern appearance
- Bullnose edges for traditional look
- Live edges for rustic charm
Step 6: Complete Electrical Connections
Installing Outlets and Switches
Outlet Installation:
- Install GFCI outlets in pre-wired boxes
- Connect black (hot) wire to brass terminal
- Connect white (neutral) wire to silver terminal
- Connect ground wire to green terminal
- Test GFCI function with test/reset buttons
Under-Cabinet Lighting:
- Install LED strip lights under overhangs
- Connect to switched circuit for easy control
- Use low-voltage LED for energy efficiency
- Hide wiring in channels or conduit
Pendant Light Installation
Electrical Rough-In:
- Install ceiling box rated for fixture weight
- Run 14-2 or 12-2 cable from switch location
- Install wall switch for light control
- Test circuit before closing up ceiling
Fixture Installation:
- Determine proper hanging height (30-36 inches above counter)
- Install mounting bracket per manufacturer instructions
- Connect fixture wires (black to black, white to white, ground to ground)
- Install bulbs and test operation
Step 7: Plumbing Connections (if applicable)
Sink Installation
Undermount Sink Process:
- Create template for sink cutout
- Cut countertop opening with jigsaw
- Install sink clips and mounting hardware
- Apply silicone sealant around sink rim
- Lower sink into position and secure clips
Drop-In Sink Process:
- Trace sink template on countertop
- Cut opening slightly smaller than template
- Apply putty or sealant to sink rim
- Lower sink into opening
- Secure with mounting clips from underneath
Faucet and Water Line Connections
Faucet Installation:
- Install faucet in sink or countertop holes
- Connect supply lines to faucet stems
- Connect supply lines to shut-off valves
- Turn on water and test for leaks
- Install aerator and test water pressure
Drain Connection:
- Install sink strainer with plumber’s putty
- Connect P-trap to sink drain
- Connect drain line to main house drain
- Test drain flow and check for leaks
- Install garbage disposal if planned
Step 8: Add Finishing Touches
Trim and Molding Installation
Base Trim:
- Measure and cut base molding to fit around island
- Miter corners for professional appearance
- Attach with finish nails into island base
- Fill nail holes with wood filler
- Sand smooth and paint or stain to match
Crown Molding (if applicable):
- Measure distance between island and ceiling
- Cut crown molding with compound miter cuts
- Install with construction adhesive and finish nails
- Caulk gaps between molding and ceiling
- Paint to match existing kitchen trim
Hardware Installation
Cabinet Hardware:
- Create template for consistent hole spacing
- Mark all handle and knob locations
- Drill pilot holes with appropriate bit size
- Install pulls and knobs with provided screws
- Check alignment and tighten all hardware
Decorative Elements:
- Install decorative brackets under overhangs
- Add corbels for traditional styling
- Install wine rack or storage accessories
- Mount towel bars or hooks for convenience
Step 9: Final Inspection and Touch-Ups
Safety and Code Compliance Check
Electrical Inspection:
- Test all GFCI outlets with tester
- Verify proper grounding on all circuits
- Check switch operation for lighting
- Ensure no exposed wiring connections
Plumbing Inspection:
- Test all water connections for leaks
- Verify proper drain flow and venting
- Check shut-off valve operation
- Test garbage disposal if installed
Structural Inspection:
- Verify island is securely anchored
- Check countertop attachment points
- Test cabinet doors and drawers
- Ensure proper clearances are maintained
Touch-Up and Cleaning
Final Touch-Ups:
- Fill any remaining nail holes or gaps
- Touch up paint on walls and trim
- Clean construction dust from all surfaces
- Remove protective films from appliances
- Polish countertops and hardware
Deep Cleaning:
- Vacuum all debris from inside cabinets
- Wipe down all surfaces with appropriate cleaners
- Clean windows and light fixtures
- Remove tape and protection materials
- Do final walkthrough for missed details
Troubleshooting Common Installation Issues
Uneven Floors
Problem: Island rocks or doesn’t sit level Solution: Use adjustable leveling feet or shim low spots with cedar shims
Electrical Issues
Problem: GFCI outlets won’t reset Solution: Check all wire connections; may have reversed hot/neutral wires
Plumbing Leaks
Problem: Water leaks at connections Solution: Tighten connections gradually; replace fittings if threads are damaged
Countertop Gaps
Problem: Gaps between countertop and island base Solution: Use trim strips or caulk to fill small gaps; remake countertop for large gaps
Maintenance Tips for Your New Kitchen Island
Daily Care
Countertop Maintenance:
- Wipe spills immediately to prevent staining
- Use cutting boards to protect surface
- Clean with appropriate cleaners for material type
- Avoid placing hot pots directly on surface
Cabinet Care:
- Clean doors and hardware regularly
- Adjust hinges if doors become misaligned
- Lubricate drawer slides annually
- Check and tighten hardware connections
Annual Maintenance
Electrical System:
- Test GFCI outlets monthly
- Check for loose electrical connections
- Replace burned-out bulbs promptly
- Have electrical system inspected if issues arise
Plumbing System:
- Check for leaks under sink
- Clean drain lines to prevent clogs
- Test shut-off valves annually
- Inspect supply lines for wear or damage
Cost Breakdown and Savings Analysis
DIY Installation Costs
Basic Island Installation:
- Pre-made island: $800-2,500
- Electrical supplies: $150-300
- Plumbing supplies: $100-250
- Tools and hardware: $200-400
- Total DIY Cost: $1,250-3,450
Professional Installation Costs:
- Labor: $2,000-5,000
- Materials markup: 20-40%
- Permits and inspections: $200-500
- Total Professional Cost: $3,500-8,000
Your Potential Savings: $2,250-4,550
Return on Investment
Kitchen islands typically add 4-7% to home value, making this one of the most valuable home improvement projects you can undertake.
When to Call a Professional
While this project is well within the capabilities of most DIY enthusiasts, consider professional help for:
- Complex electrical work requiring new circuits
- Plumbing that involves main drain modifications
- Structural changes to support heavy islands
- Gas line installation for cooking appliances
- Situations where permits require professional oversight
Conclusion: Enjoying Your New Kitchen Island
Congratulations! You’ve successfully installed a kitchen island that will serve as the heart of your kitchen for years to come. This project not only saves you thousands in installation costs but also provides valuable experience for future home improvement projects.
Your new island adds functionality, storage, and style to your kitchen while potentially increasing your home’s value. The skills you’ve learned during this installation will serve you well in future renovation projects.
Key Takeaways:
- Proper planning prevents problems during installation
- Taking time for accurate measurements ensures professional results
- Safety should always be your top priority
- Quality materials and tools make the job easier and results better
Next Steps:
- Document your work with before and after photos
- Keep receipts and manuals for warranty purposes
- Plan complementary upgrades like new lighting or backsplash
- Share your success story to inspire other DIY enthusiasts
Remember, every professional started as a beginner. Your successful kitchen island installation proves you have the skills to tackle even more ambitious home improvement projects in the future.
Have questions about your kitchen island installation? Leave a comment below or check out our related guides on kitchen renovation planning and countertop installation techniques.