Think you need to spend tens of thousands to transform your small bathroom? Think again. With smart planning, strategic shopping, and some DIY elbow grease, you can completely renovate a small bathroom for under $3,000 while achieving stunning, professional-looking results.
After helping hundreds of homeowners renovate their bathrooms on tight budgets, we’ve identified the exact strategies, materials, and techniques that deliver maximum impact for minimum investment. This comprehensive guide will show you how to prioritize your spending, tackle projects yourself, and create a bathroom that looks like it cost twice your budget.
Why Small Bathroom Renovations Offer the Best ROI
Small bathrooms present unique opportunities for budget renovations. With less square footage to cover, your material costs stay manageable while still delivering dramatic visual impact. According to recent home improvement studies, bathroom renovations consistently rank among the top projects for return on investment, with small bathroom makeovers often returning 70-80% of their cost in increased home value.
Budget Breakdown: How to Spend Your $3,000 Wisely
Before diving into specific projects, let’s establish a smart budget allocation that maximizes your renovation impact:
Strategic Budget Allocation
Flooring: $400-600 (20%)
- Luxury vinyl plank or ceramic tile
- Includes underlayment and installation supplies
Paint & Wall Treatments: $200-300 (10%)
- Premium bathroom paint
- Primer, brushes, and supplies
Vanity & Storage: $600-800 (25%)
- New vanity or vanity makeover
- Mirror and storage solutions
Fixtures & Hardware: $500-700 (20%)
- Faucet, showerhead, lighting
- Cabinet hardware and accessories
Shower/Tub Refresh: $400-600 (15%)
- Tile refresh, new surround, or refinishing
- New shower curtain or glass doors
Tools & Miscellaneous: $300-400 (10%)
- Essential tools, unexpected costs
- Professional help for complex tasks
Project 1: Luxury Vinyl Plank Flooring Transformation
Budget: $400-500 | Time: 1-2 weekends | Difficulty: Beginner
Nothing transforms a bathroom faster than new flooring. Luxury vinyl plank (LVP) offers the look of hardwood or stone at a fraction of the cost, plus it’s 100% waterproof.
Why LVP is Perfect for Small Bathrooms
Waterproof Performance: Unlike laminate, quality LVP handles moisture without warping or delaminating.
Easy Installation: Most LVP features click-lock installation that doesn’t require glue or nails.
Realistic Appearance: Modern LVP is virtually indistinguishable from real wood or stone.
Cost Effective: Premium LVP costs $3-5 per square foot versus $8-15 for ceramic tile.
Step-by-Step Installation Process
Preparation (Day 1 Morning):
- Remove old flooring and clean subfloor thoroughly
- Check for squeaks and secure loose subflooring
- Install moisture barrier if required by manufacturer
- Allow materials to acclimate for 24 hours
Installation (Day 1 Afternoon – Day 2):
- Start installation in the longest, straightest wall
- Maintain 1/4-inch expansion gap around perimeter
- Stagger plank joints by at least 6 inches
- Cut around toilet flange and other obstacles carefully
- Install transition strips and quarter-round molding
Pro Tips for Professional Results:
- Rent a quality miter saw for clean, precise cuts
- Use a tapping block to avoid damaging plank edges
- Plan your layout to avoid narrow strips at visible walls
- Take time with toilet flange cuts – measure twice, cut once
Material Shopping List:
- LVP flooring: 40-50 sq ft ($120-200)
- Underlayment (if needed): $50-75
- Quarter round molding: $30-40
- Installation supplies: $50-75
- Tool rental (miter saw): $40-60
Project 2: Vanity Makeover vs. Replacement
Budget: $600-800 | Time: 1-2 weekends | Difficulty: Intermediate
Your vanity serves as the bathroom’s focal point, making it worth a significant portion of your budget. You have two excellent options depending on your current vanity’s condition.
Option A: Complete Vanity Replacement ($500-700)
When to Replace:
- Current vanity is damaged or poorly sized
- Plumbing changes are needed
- You want to maximize storage
Best Budget-Friendly Vanities:
- IKEA GODMORGON series: Excellent quality, modern design, $200-350
- Home Depot Hampton Bay: Traditional styling, solid construction, $250-400
- Lowes Allen + Roth: Good selection, competitive pricing, $200-350
Installation Considerations:
- Measure carefully – small bathrooms have limited flexibility
- Consider wall-mounted vanities to create illusion of more space
- Factor in plumbing adjustments ($100-200 if needed)
Option B: Vanity Cabinet Makeover ($200-300)
When to Makeover:
- Cabinet boxes are solid and well-positioned
- You want to maximize budget for other improvements
- Current layout works well
Makeover Process:
- Remove doors and hardware
- Clean and sand all surfaces lightly
- Apply high-quality primer designed for laminate/wood
- Paint with semi-gloss or satin bathroom paint
- Install new hardware and soft-close hinges
- Add pull-out organizers for better functionality
Color Strategies:
- Classic White: Timeless, makes space feel larger
- Navy or Dark Gray: Modern, sophisticated, hides wear
- Two-Tone: White boxes with darker island creates visual interest
Project 3: Strategic Paint & Wall Treatments
Budget: $200-300 | Time: 1 weekend | Difficulty: Beginner
Paint delivers the biggest visual transformation for the smallest investment. In small bathrooms, color choice dramatically affects the perceived size and ambiance.
Color Psychology for Small Spaces
Light Colors That Expand Space:
- Soft whites with warm undertones: Benjamin Moore Cloud White, Sherwin Williams Pure White
- Light grays: Create modern, spa-like atmosphere
- Pale blues and greens: Calming, naturally complement water elements
Bold Colors That Work:
- Navy accent wall: Creates depth without overwhelming
- Rich greens: On-trend, sophisticated when balanced with white
- Charcoal: Dramatic but works in well-lit spaces
Advanced Paint Techniques
Ceiling Treatment: Paint the ceiling the same color as walls to eliminate visual boundaries and make the room feel taller. This technique works especially well with light colors.
Accent Wall Strategy: Choose the wall behind the vanity or opposite the entrance for maximum impact without overwhelming the space.
Trim and Door Refresh: Don’t overlook existing trim and doors. Fresh white semi-gloss paint on trim creates crisp, finished appearance.
Essential Paint Supplies
Quality Materials Make the Difference:
- Primer: Zinsser Bulls Eye 1-2-3 for all surfaces
- Paint: Benjamin Moore Advance or Sherwin Williams ProClassic
- Brushes: Purdy or Wooster angled brushes for cutting in
- Rollers: 3/8-inch nap for smooth walls, microfiber for semi-gloss
Application Tips:
- Use painter’s tape designed for delicate surfaces
- Apply thin, even coats rather than trying to cover in one pass
- Remove tape while paint is still slightly wet for clean lines
- Ventilate well and allow proper drying time between coats
Project 4: Lighting Upgrade for Maximum Impact
Budget: $300-500 | Time: 4-8 hours | Difficulty: Intermediate
Poor lighting makes even beautiful bathrooms feel cramped and uninviting. Strategic lighting improvements create ambiance and make your space feel significantly larger.
Layered Lighting Approach
Task Lighting (Priority #1): Vanity lighting provides essential illumination for daily grooming tasks.
Best Budget Options:
- Progress Lighting Archie Collection: $80-120, modern industrial style
- Kichler Barrington Series: $100-150, transitional design
- Hampton Bay Vanity Bars: $40-80, basic but functional
Installation Considerations:
- Mount 75-78 inches from floor for optimal face lighting
- Choose fixtures that are 75% of vanity width
- LED bulbs provide best light quality and energy efficiency
Ambient Lighting: Ceiling fixtures provide general room illumination.
Budget-Friendly Upgrades:
- Flush-mount LED fixtures: $50-100, space-saving
- Recessed lighting conversion kits: $30-50 per light
- Pendant lights: $60-120, add style and personality
Accent Lighting (If Budget Allows):
- LED strip lights behind mirror: Creates floating effect
- Toe-kick lighting under vanity: Adds sophisticated ambiance
- Shower niche lighting: Highlights tile work
Electrical Safety Notes
When to Call a Professional:
- Adding new circuits or outlets
- Working with wet locations requiring GFCI protection
- If you’re uncomfortable with electrical work
DIY-Friendly Tasks:
- Replacing existing fixtures (same wiring configuration)
- Installing battery-operated accent lighting
- Upgrading to LED bulbs in existing fixtures
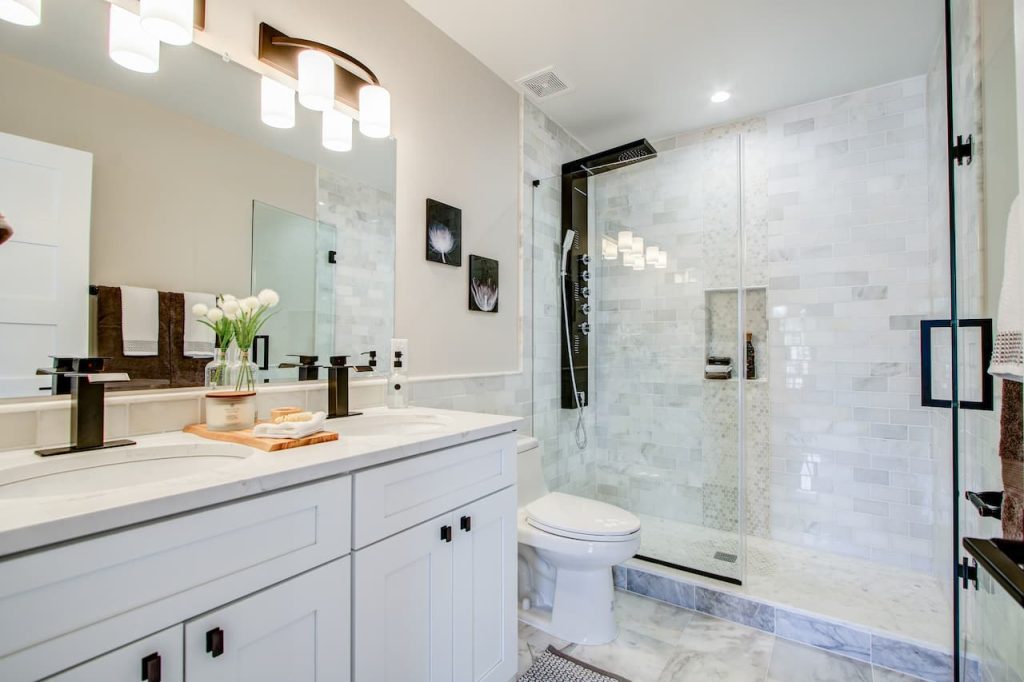
Project 5: Shower and Tub Refresh Strategies
Budget: $400-600 | Time: 1-2 weekends | Difficulty: Intermediate
Rather than undertaking expensive tile demolition, focus on refresh strategies that deliver dramatic results while preserving your budget.
Option A: Tile and Grout Restoration ($150-250)
When This Works Best:
- Existing tile is in good condition but looks dated
- Grout is discolored but structurally sound
- You want to preserve budget for other improvements
Professional-Level Process:
- Deep clean with oxygen bleach solution
- Remove and replace deteriorated grout
- Apply grout colorant for uniform appearance
- Seal all grout lines with penetrating sealer
- Polish tile to restore original luster
Recommended Products:
- Grout Refresh by Polyblend: $25-35, comes in multiple colors
- 511 Grout Sealer: $15-20, professional-grade protection
- Tile and grout cleaning tools: $30-50
Option B: Tub and Tile Refinishing ($250-400)
Professional Results at DIY Prices: Modern refinishing kits produce durable, attractive results that last 3-5 years with proper care.
Best DIY Refinishing Kits:
- Rust-Oleum Tub and Tile Kit: $60-80, includes everything needed
- EKOPEL 2K Bathtub Refinishing Kit: $90-120, superior durability
- Homax Tough as Tile: $40-60, good for smaller areas
Application Success Tips:
- Temperature and humidity control are critical
- Thorough surface preparation determines longevity
- Apply thin, even coats for professional appearance
- Allow full cure time before use (typically 72 hours)
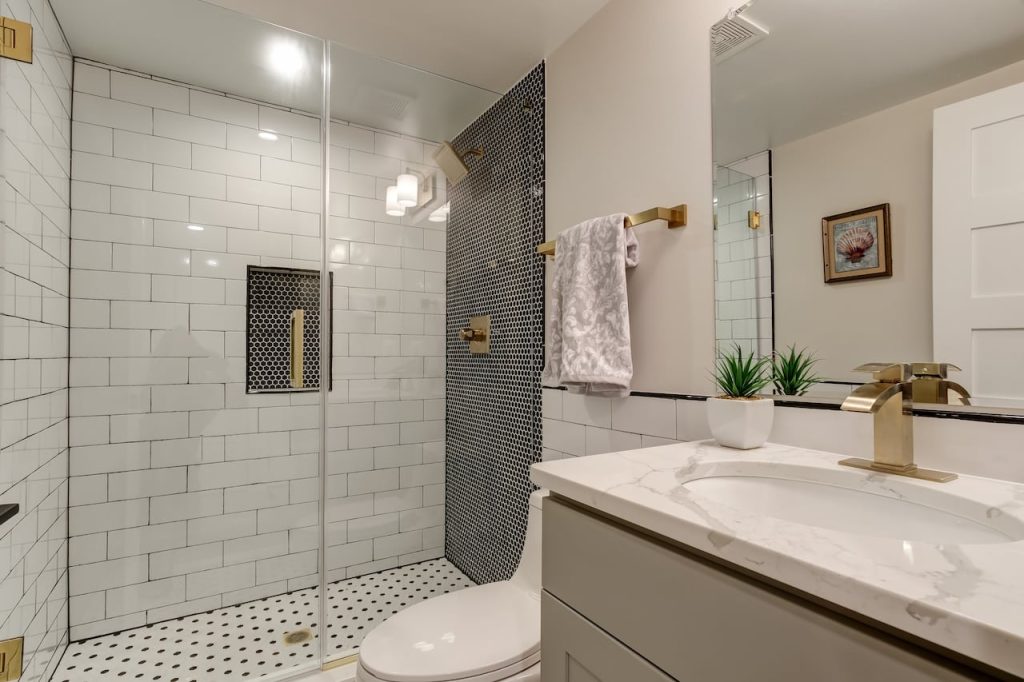
Option C: Shower Surround Replacement ($350-500)
When to Consider:
- Existing surround is damaged or severely outdated
- You want low-maintenance, modern appearance
- Budget allows for this investment
Best Budget Surrounds:
- Sterling Ensemble Series: $200-300, easy installation
- Delta Classic Series: $180-250, multiple style options
- Swanstone Panels: $250-350, premium appearance
Project 6: Storage Solutions That Don’t Break the Bank
Budget: $200-300 | Time: 1 weekend | Difficulty: Beginner
Small bathrooms demand creative storage solutions. Strategic additions can dramatically improve functionality without major construction.
Vertical Storage Maximization
Over-Toilet Storage:
- Wooden ladder shelf: $50-80, adds rustic charm
- Metal etagere: $40-70, modern and functional
- Custom floating shelves: $30-60, maximizes space
Wall-Mounted Solutions:
- Medicine cabinet replacement: $80-150, doubles storage
- Floating vanity accessories: $40-80, keeps counters clear
- Magnetic strips: $15-25, holds small metal items
Hidden Storage Opportunities
Behind-Door Storage:
- Over-door organizers: $20-40, utilizes unused space
- Towel racks with shelving: $30-60, dual function
- Full-length mirror with storage: $80-120, space-saving
Niche Creation:
- Recessed shelving between studs: $50-100, custom look
- Shower corner caddies: $25-50, eliminates clutter
- Built-in toilet paper storage: $30-60, convenient access
Project 7: Hardware and Fixture Upgrades
Budget: $200-300 | Time: 4-6 hours | Difficulty: Beginner
Small details make big differences in bathroom aesthetics. Coordinated hardware and fixtures create a cohesive, intentional design.
Hardware Selection Strategy
Finish Coordination: Choose one primary finish and stick to it throughout the space. Popular budget-friendly options include:
- Brushed Nickel: Timeless, hides water spots well
- Matte Black: Modern, dramatic contrast with light colors
- Brushed Gold: Warm, luxurious appearance
- Chrome: Classic, pairs well with any color scheme
Essential Hardware Updates:
- Cabinet pulls and knobs: $30-60 for small bathroom
- Towel bars and hooks: $40-80 for complete set
- Toilet paper holder: $15-30, upgrade from builder grade
- Robe hooks: $20-40, adds functionality
Fixture Upgrade Priorities
High-Impact Changes:
- Faucet replacement: $80-150, dramatically updates vanity area
- Showerhead upgrade: $40-100, improves daily experience
- Toilet seat: $30-80, simple but noticeable improvement
Installation Tips:
- Take photos before disconnecting anything
- Use thread tape on all threaded connections
- Test for leaks after installation
- Keep manufacturer instructions for warranty purposes
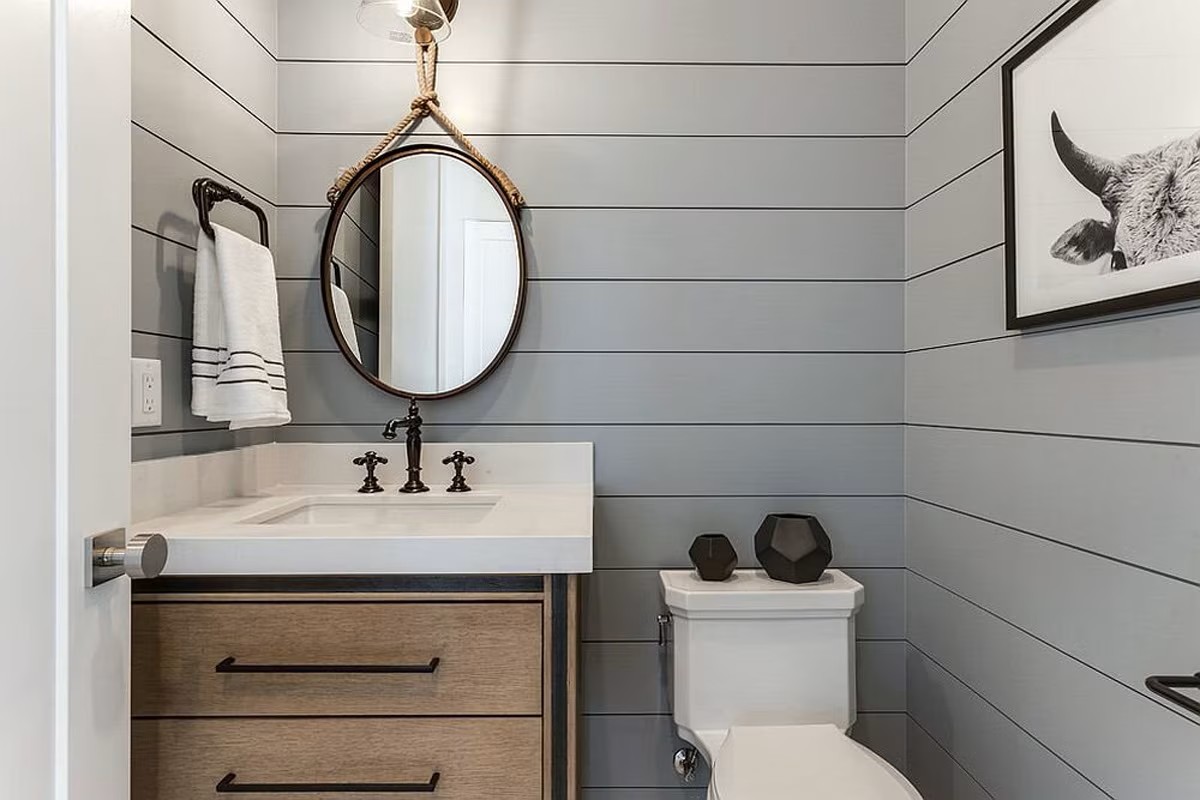
Project 8: Mirror and Glass Upgrades
Budget: $150-250 | Time: 2-4 hours | Difficulty: Beginner
Mirrors are crucial in small bathrooms, affecting both functionality and the perception of space size.
Mirror Sizing and Placement
Size Guidelines:
- Mirror should be 4-6 inches narrower than vanity
- Height should accommodate all users comfortably
- Consider horizontal vs. vertical orientation based on ceiling height
Style Options:
- Frameless: Clean, modern, makes space feel larger
- Framed: Adds character, coordinates with other finishes
- Backlit: Premium look, provides even lighting
DIY Mirror Frame Projects
Transform Builder-Grade Mirrors: Create custom frames using:
- Wood trim: $20-40, painted or stained to match decor
- Tile borders: $30-60, coordinates with shower tile
- Metal strips: $25-50, modern industrial appearance
Installation Considerations:
- Use appropriate anchors for wall type
- Consider mirror weight when selecting mounting hardware
- Leave adequate clearance for faucet operation
Budget Shopping Strategies: Getting More for Less
Timing Your Purchases
Best Shopping Seasons:
- January-February: Post-holiday clearance sales
- August-September: Back-to-school promotions
- Black Friday/Cyber Monday: Significant appliance and fixture discounts
End-of-Line Opportunities:
- Floor models: 20-30% off, usually perfect condition
- Discontinued styles: Deep discounts on quality products
- Contractor packs: Bulk pricing on tiles and materials
Where to Shop Smart
Big Box Stores:
- Home Depot: Price matching, extensive DIY resources
- Lowe’s: Military discounts, installation services
- Menards: 11% rebate program, contractor pricing
Online Resources:
- Wayfair: Huge selection, frequent sales
- Amazon: Quick delivery, customer reviews
- Overstock: Deep discounts on name brands
Local Options:
- Habitat ReStore: Donated materials, excellent prices
- Tile outlets: End-of-lot tiles at reduced prices
- Plumbing supply stores: Professional-grade fixtures
Negotiation Strategies
Price Matching Policies: Most major retailers will match competitor prices. Research thoroughly and bring documentation.
Volume Discounts: When buying multiple items, ask about contractor pricing or volume discounts.
Damaged Box Discounts: Items with damaged packaging often receive 10-20% discounts despite being perfectly functional.
Timeline and Project Sequencing
Week 1: Planning and Purchasing
- Days 1-2: Measure space, create detailed plans
- Days 3-5: Research products, compare prices
- Days 6-7: Purchase materials, arrange tool rentals
Week 2: Preparation and Demolition
- Days 1-2: Remove old fixtures, prepare surfaces
- Days 3-4: Complete any minor repairs
- Days 5-7: Prime walls, begin paint application
Week 3: Major Installations
- Days 1-3: Install flooring
- Days 4-5: Complete vanity work
- Days 6-7: Install lighting fixtures
Week 4: Finishing Touches
- Days 1-3: Complete shower/tub refresh
- Days 4-5: Install hardware and accessories
- Days 6-7: Final cleanup and touch-ups
Common Mistakes to Avoid
Planning Mistakes
Inadequate Measurements: Measure multiple times and account for obstacles like pipes and electrical boxes.
Ignoring Building Codes: Research local requirements for ventilation, electrical, and plumbing work.
Unrealistic Timeline: Allow extra time for unexpected issues and material delivery delays.
Installation Mistakes
Skipping Surface Preparation: Proper prep work determines the longevity of your renovation.
Wrong Tool Selection: Using inadequate tools leads to poor results and frustration.
Rushing Critical Steps: Take time for proper drying, curing, and setting of materials.
Maintenance Tips for Long-Term Success
Daily Habits
Moisture Control:
- Use exhaust fan during and after showers
- Wipe down surfaces to prevent water spots
- Keep shower doors or curtains open after use
Cleaning Routine:
- Address soap scum and mineral deposits promptly
- Use appropriate cleaners for each surface type
- Maintain grout sealer every 1-2 years
Annual Maintenance
Inspection Tasks:
- Check caulk lines for gaps or mildew
- Test GFCI outlets and replace if needed
- Inspect and clean exhaust fan
Preventive Care:
- Touch up paint in high-wear areas
- Re-seal natural stone surfaces
- Replace water filters and shower cartridges
Real Renovation Examples: $3,000 Success Stories
Case Study 1: The Modern Minimalist
Total Cost: $2,850
- LVP flooring: $450
- Vanity makeover: $250
- Paint and primer: $180
- Lighting upgrade: $320
- Shower refresh: $400
- Hardware and accessories: $200
- Storage solutions: $150
- Miscellaneous: $200
Key Success Factors:
- Focused on high-impact changes
- Did all work themselves except electrical
- Shopped sales and used price matching
Case Study 2: The Classic Traditional
Total Cost: $2,950
- Ceramic tile flooring: $550
- New vanity: $650
- Paint and wallpaper accent: $220
- Fixture upgrades: $480
- Tub refinishing: $300
- Mirror and lighting: $350
- Tools and supplies: $200
- Professional help: $200
Key Success Factors:
- Invested in quality materials that will last
- Mixed DIY with strategic professional help
- Prioritized timeless design choices
Conclusion: Your $3,000 Bathroom Transformation Awaits
Renovating a small bathroom for under $3,000 isn’t just possible – it’s an opportunity to create a space that rivals expensive contractor renovations. The key lies in strategic planning, smart shopping, and focusing on changes that deliver maximum visual and functional impact.
Remember that successful budget renovations aren’t about cutting corners on quality; they’re about making informed choices, doing thorough research, and investing your time and effort alongside your money. Each project in this guide has been tested and proven to deliver professional results at DIY prices.
Ready to start your transformation? Begin with careful measurements and detailed planning. Take time to research products and compare prices across multiple retailers. Most importantly, don’t rush the process – a well-executed budget renovation often looks better than a rushed expensive one.
Your dream bathroom is closer than you think, and your wallet will thank you for taking the smart, strategic approach to renovation success.
Looking for more bathroom renovation inspiration? Check out our complete guide to DIY bathroom projects and our comprehensive tool recommendations for successful home improvements.