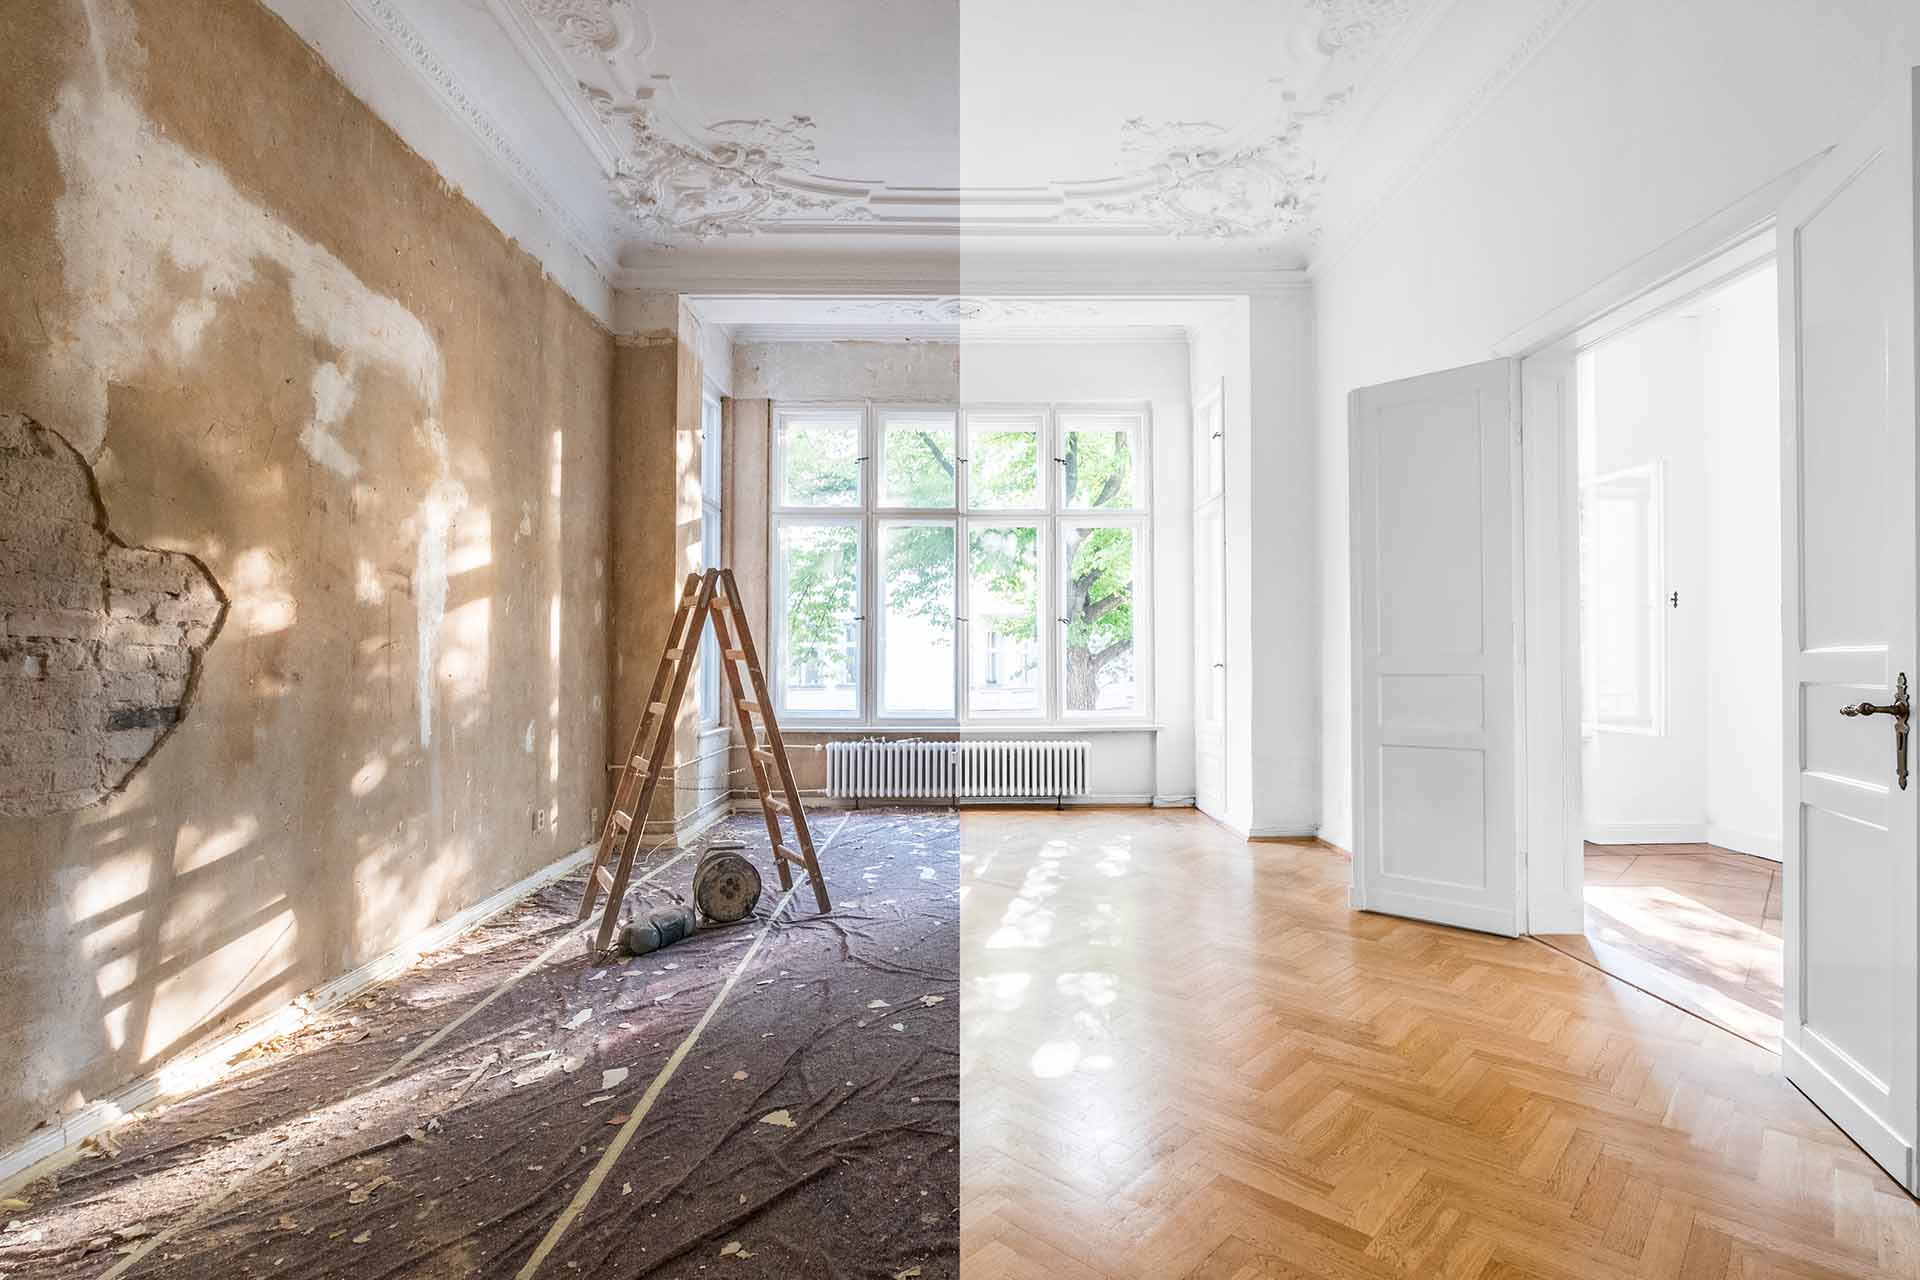
A home renovation can be exciting right up until you realize how many decisions are involved.
Which room should you tackle first? How much should you budget? Which jobs can you handle yourself? When should you bring in a professional? And how do you stop a relatively simple project from turning into an expensive mess?
The easiest way to make renovation less stressful is to plan the project before you start buying materials or tearing anything apart.
Whether you are updating a bathroom, remodeling a kitchen, replacing flooring or refreshing several rooms, this step-by-step guide will help you build a renovation plan that is practical, realistic and easier to manage.
1. Decide What You Actually Want to Change
Before thinking about paint colors, cabinets or flooring, identify the problem you are trying to solve.
Ask yourself what is not working in the space right now.
Maybe your kitchen does not have enough storage.
Perhaps your bathroom has poor ventilation.
Your flooring may be damaged or difficult to maintain.
Your living room might feel dark and dated.
Or perhaps you simply want to improve your home’s appearance before putting it on the market.
Write down your priorities before deciding on individual products.
A useful approach is to separate your renovation goals into three groups:
- Must fix: Damage, safety concerns or problems affecting daily use
- Should improve: Features that would noticeably improve comfort or functionality
- Nice to have: Cosmetic upgrades that can be removed if the budget becomes tight
This prevents optional improvements from consuming money needed for essential work.
2. Define the Scope of the Project
A renovation becomes much easier to control when you know exactly where it begins and ends.
For example, “renovate the bathroom” is too broad.
A more useful scope might include:
- Replace the vanity
- Install new flooring
- Repaint the walls
- Upgrade the exhaust fan
- Replace lighting
- Keep the existing bathtub and plumbing locations
Now you have a clearly defined project.
Scope creep is one of the most common reasons renovation budgets grow. You begin by replacing cabinets, then decide the countertops look old, which makes the backsplash look dated, which suddenly turns into replacing half the kitchen.
Some changes will naturally appear during a renovation, but having an original scope gives you something to compare them against.
Before adding another job, ask:
Does this genuinely need to be done now?
If the answer is no, consider saving it for another project.
3. Set a Realistic Renovation Budget
Your renovation budget should include more than the visible materials.
Homeowners often calculate the cost of cabinets, tiles or flooring but forget dozens of smaller expenses.
Depending on the project, your budget may also need to cover:
- Tools
- Fasteners and adhesives
- Underlayment
- Trim
- Paint and supplies
- Delivery fees
- Waste disposal
- Permit costs
- Electrical or plumbing work
- Equipment rental
- Contractor labor
You should also leave room for unexpected expenses.
Older homes in particular can hide surprises behind walls, underneath flooring or around plumbing fixtures.
You may discover damaged subflooring, outdated wiring, moisture problems or materials that need additional work before the visible renovation can continue.
Do not commit every dollar of your available budget before the project begins.
A financial cushion gives you room to handle legitimate surprises without abandoning the project halfway through.
4. Measure Everything Carefully
Few renovation mistakes are as frustrating as ordering materials that do not fit.
Before buying cabinets, flooring, countertops, appliances, doors or fixtures, take accurate measurements.
Then take them again.
For larger projects, create a simple drawing of the room showing:
- Wall lengths
- Ceiling height
- Door positions
- Window positions
- Electrical outlets
- Plumbing locations
- Built-in features
- Major appliances
Pay attention to clearance as well.
A cabinet may technically fit against a wall but prevent a nearby door from opening properly.
A larger refrigerator may fit into the available space but stick too far into a walkway.
Measurements should reflect how the room functions, not just whether an object physically fits.
5. Decide What You Can DIY
Doing some renovation work yourself can significantly reduce labor costs.
But DIY only saves money when the work is completed correctly.
Good beginner-friendly projects often include jobs such as:
- Interior painting
- Installing shelving
- Replacing cabinet hardware
- Basic landscaping
- Installing certain click-lock flooring systems
- Caulking and sealing
- Simple cosmetic updates
More complex jobs may require professional help, particularly when they involve electrical systems, structural changes, gas, major plumbing work or specialized safety requirements.
Your decision should not be based only on whether you can find a tutorial online.
Consider four things:
Skill: Do you understand the process?
Tools: Do you already own or reasonably have access to the required equipment?
Time: Can you complete the job without leaving an important room unusable for weeks?
Risk: What happens if you make a mistake?
There is a big difference between repainting a wall incorrectly and incorrectly modifying a structural component.
Knowing when not to DIY is part of being a good DIY renovator.
6. Research Permits Before Work Begins
Some home improvements can be completed without formal approval, while others may require permits, inspections or licensed professionals.
Requirements vary depending on your location and the type of work being performed.
Projects involving structural alterations, electrical systems, major plumbing changes or significant additions are more likely to have regulatory requirements than basic cosmetic improvements.
Check local requirements before beginning the project rather than assuming your work is exempt.
Permits can affect your schedule and budget, so they should be part of the planning process from the beginning.
Ignoring requirements can create much larger problems later, particularly when selling or insuring the property.
7. Choose Materials Based on the Room
A material that looks beautiful is not automatically the right material for every space.
Think about the conditions the surface will experience.
Bathrooms need materials that tolerate moisture.
Kitchen surfaces need to handle spills and frequent cleaning.
Entryways benefit from durable flooring that can withstand dirt and foot traffic.
Outdoor materials need to tolerate changing weather conditions.
When comparing products, consider:
- Durability
- Maintenance requirements
- Moisture resistance
- Installation difficulty
- Expected lifespan
- Replacement cost
A cheaper material may cost more over time if it wears quickly or requires frequent maintenance.
At the same time, the most expensive option is not automatically the best choice.
Look for the material that offers the right balance of performance, appearance and cost for your particular project.
8. Order Samples Before Making Big Decisions
Colors and finishes can look very different in your home than they do online or under showroom lighting.
Whenever possible, obtain samples before ordering large quantities of flooring, paint, tile, countertops or cabinet finishes.
Look at them in the actual room.
Check them during the morning, afternoon and evening.
Natural and artificial lighting can completely change how a color appears.
Compare different materials beside one another as well.
A flooring sample that looks beautiful by itself may clash with your existing cabinets.
Taking a few extra days to test materials is much easier than realizing you dislike them after installation.
9. Plan the Order of Work
Renovation jobs should happen in a logical sequence.
There is little point installing a brand-new floor if contractors will later be walking across it while completing major construction work.
The exact sequence depends on your project, but larger renovations often follow a general pattern:
- Planning and design
- Permits and approvals
- Demolition
- Structural work
- Plumbing and electrical rough-in
- Wall and ceiling repairs
- Painting
- Flooring
- Cabinets and built-ins
- Fixtures and finishing details
Some projects will require a different order, but the principle remains the same.
Try to complete messy, invasive work before delicate finishes are installed.
10. Buy Materials Before You Need Them
Do not automatically begin demolition the moment you order your new materials.
A product may appear to be available when you purchase it and still face shipping delays.
Special-order cabinets, flooring, doors, fixtures and appliances can sometimes take longer than expected.
Whenever practical, make sure critical materials have arrived and are undamaged before removing the items they are replacing.
This matters especially in kitchens and bathrooms.
Living without a decorative wall panel for another week may be inconvenient.
Living without a functioning toilet because the replacement fixture is delayed is much more disruptive.
11. Inspect Deliveries Immediately
When renovation materials arrive, check them before installation day.
Confirm:
- Quantity
- Dimensions
- Model numbers
- Colors
- Finish
- Visible damage
For products such as tile or flooring, make sure all boxes are the correct product.
Discovering damaged materials before installation gives you time to arrange replacements.
Discovering them while contractors are waiting can create delays and additional costs.
12. Prepare for Dust and Disruption
Even relatively small renovations can affect the rest of the house.
Plan how you will manage the disruption.
Move furniture and valuables away from the work area.
Use protective coverings where necessary.
Create temporary alternatives if you are renovating an essential room.
If the kitchen is unavailable, for example, set up a basic temporary food preparation area elsewhere.
Think about children and pets as well.
Tools, debris, exposed wiring and unfinished surfaces can make renovation areas unsafe.
A little planning makes living through the project considerably easier.
13. Do Not Ignore Ventilation
Ventilation is especially important in kitchens, bathrooms and other moisture-prone areas.
A beautiful bathroom renovation can quickly develop problems if moisture cannot escape effectively.
Poor ventilation can contribute to condensation, peeling paint, mildew and damage to surrounding materials.
When renovating bathrooms, evaluate the exhaust system rather than simply replacing visible finishes.
Similarly, kitchen ventilation should be considered when installing or upgrading cooking equipment.
Hidden systems are not as exciting as new countertops or tile, but they can have a much greater impact on how well your renovation performs over time.
14. Think About Maintenance Before Installation
Some finishes look fantastic when they are brand new but require significant effort to keep that way.
Before choosing a product, ask how it will need to be maintained.
Consider:
- How easily does it stain?
- Does it require regular sealing?
- Can it be repaired?
- Are replacement parts available?
- How difficult is it to clean?
- Will the finish show scratches easily?
Your renovation should work for the way you actually live.
If you do not enjoy regular maintenance, choose materials that can tolerate a little neglect.
15. Avoid Following Every Trend
Renovation trends can provide great inspiration, but your home does not need to copy everything currently popular.
Major elements such as flooring, cabinetry and countertops can be expensive to replace.
For those features, relatively timeless choices are often easier to live with long term.
Trends can then be introduced through less permanent elements such as:
- Paint
- Hardware
- Lighting
- Textiles
- Decorative accessories
These are much easier and cheaper to update when your taste changes.
16. Keep Track of Your Project Expenses
Small purchases add up quickly during a renovation.
Keep a simple record of every expense.
Separate your costs into categories such as:
- Materials
- Labor
- Tools
- Delivery
- Permits
- Waste disposal
- Unexpected repairs
Compare actual spending with your original budget throughout the project.
Do not wait until the renovation is finished to discover how much you spent.
Tracking costs in real time gives you the opportunity to reduce spending elsewhere if one part of the project exceeds its budget.
17. Save Leftover Materials
Do not immediately throw away every leftover piece of your renovation materials.
Keep a reasonable amount of flooring, tile, paint and other finish materials for future repairs.
Matching products years later can be surprisingly difficult.
Manufacturers discontinue styles, colors change slightly between production batches, and the exact product you installed may eventually disappear.
A few spare tiles or flooring boards stored safely can make a future repair much easier.
Label leftover paint clearly with the room and surface where it was used.
Your future self will appreciate it.
18. Inspect the Finished Work
When the renovation appears complete, do not rush through the final inspection.
Walk through the entire area carefully.
Check doors and drawers.
Test faucets.
Inspect paint finishes.
Look at caulk lines.
Check switches and outlets where appropriate.
Look for damaged surfaces or unfinished details.
If you hired contractors, create a list of any remaining items that need attention before considering the project finished.
Small imperfections are easier to address while everyone is still focused on the job.
A Successful Renovation Starts Before Demolition
The most important part of a renovation often happens before the first tool comes out.
Clear goals, realistic budgeting, careful measurements and proper sequencing can prevent many of the problems homeowners encounter during home improvement projects.
You do not need to know everything before beginning.
You simply need to understand the project well enough to know what you can handle, where you need help and what decisions need to be made before work begins.
At RenoGuide, our goal is to make that process easier by turning complicated home improvement projects into practical, manageable steps.
Plan carefully, work methodically and focus on improvements that genuinely make your home safer, more functional and more enjoyable to live in.
A successful renovation is not about changing everything.
It is about changing the right things well.